What you’ll learn
By the end of this tutorial, you’ll learn how to:- Call REST APIs via the
core.http_requestaction - Trigger workflows manually via the UI
- Add secrets to your workflows
Prerequisites
Your first workflow
Tracecat uses YAML to define inputs and configurations for actions and workflows.
YAML is a human-readable configuration language that is easy to write and read.
It is also more concise than JSON and more customizable than HTML forms.If you’re new to YAML or need a refresher, check out our YAML syntax cheatsheet.
YAML is also widely used in DevOps tools like Ansible, GitHub Actions, and Docker Compose.
Create new workflow
Create new workflow
Click the 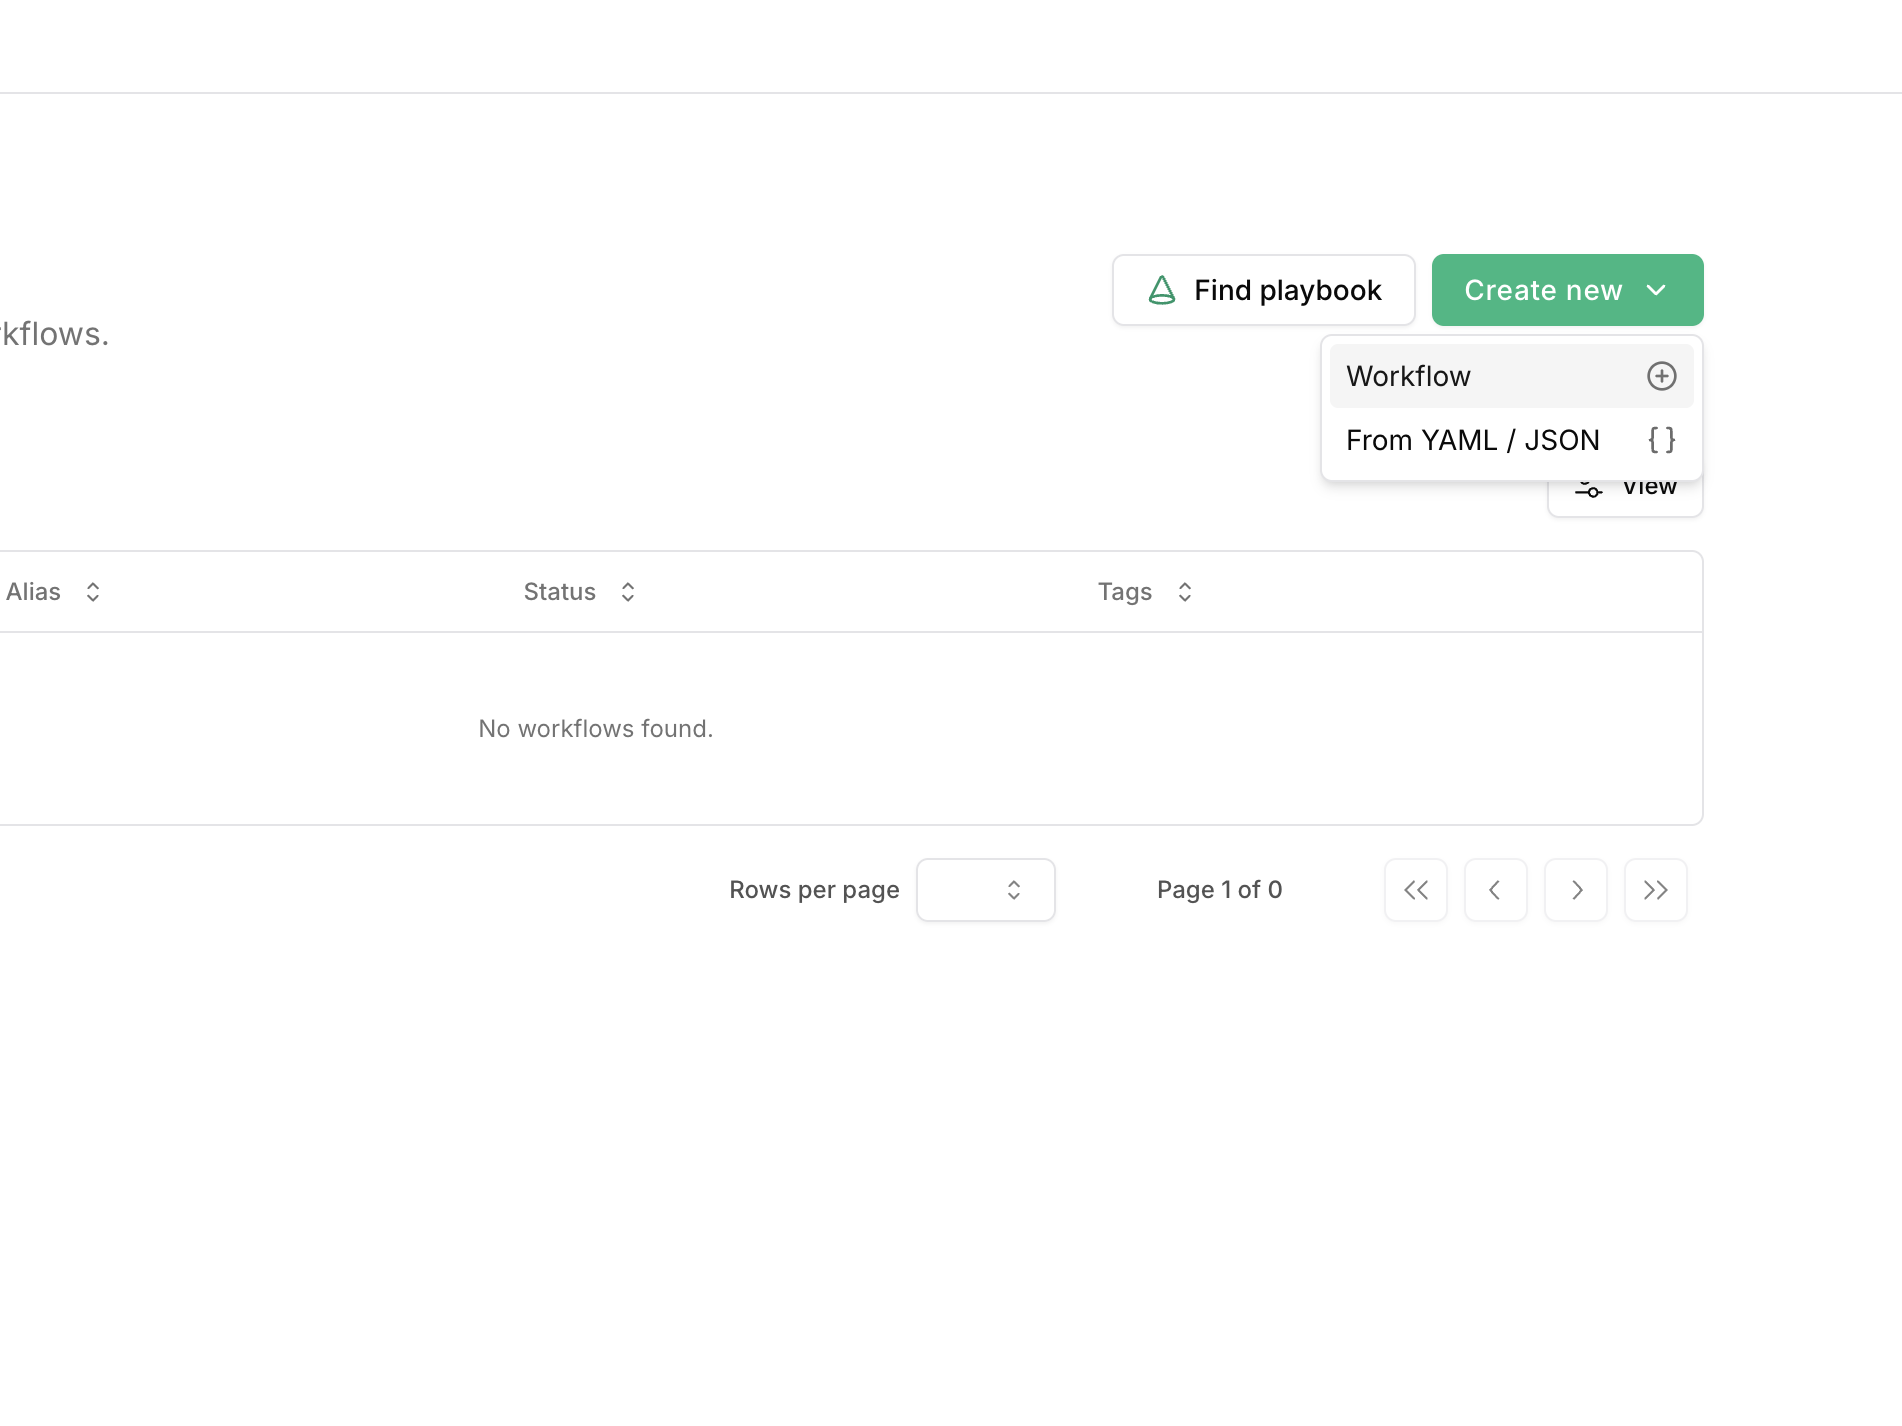
Create new button in the top right corner of the workflows page.Rename workflow
Rename workflow
Click on the empty workflow canvas to open the workflow settings panel.
You can change the name and description of the workflow here.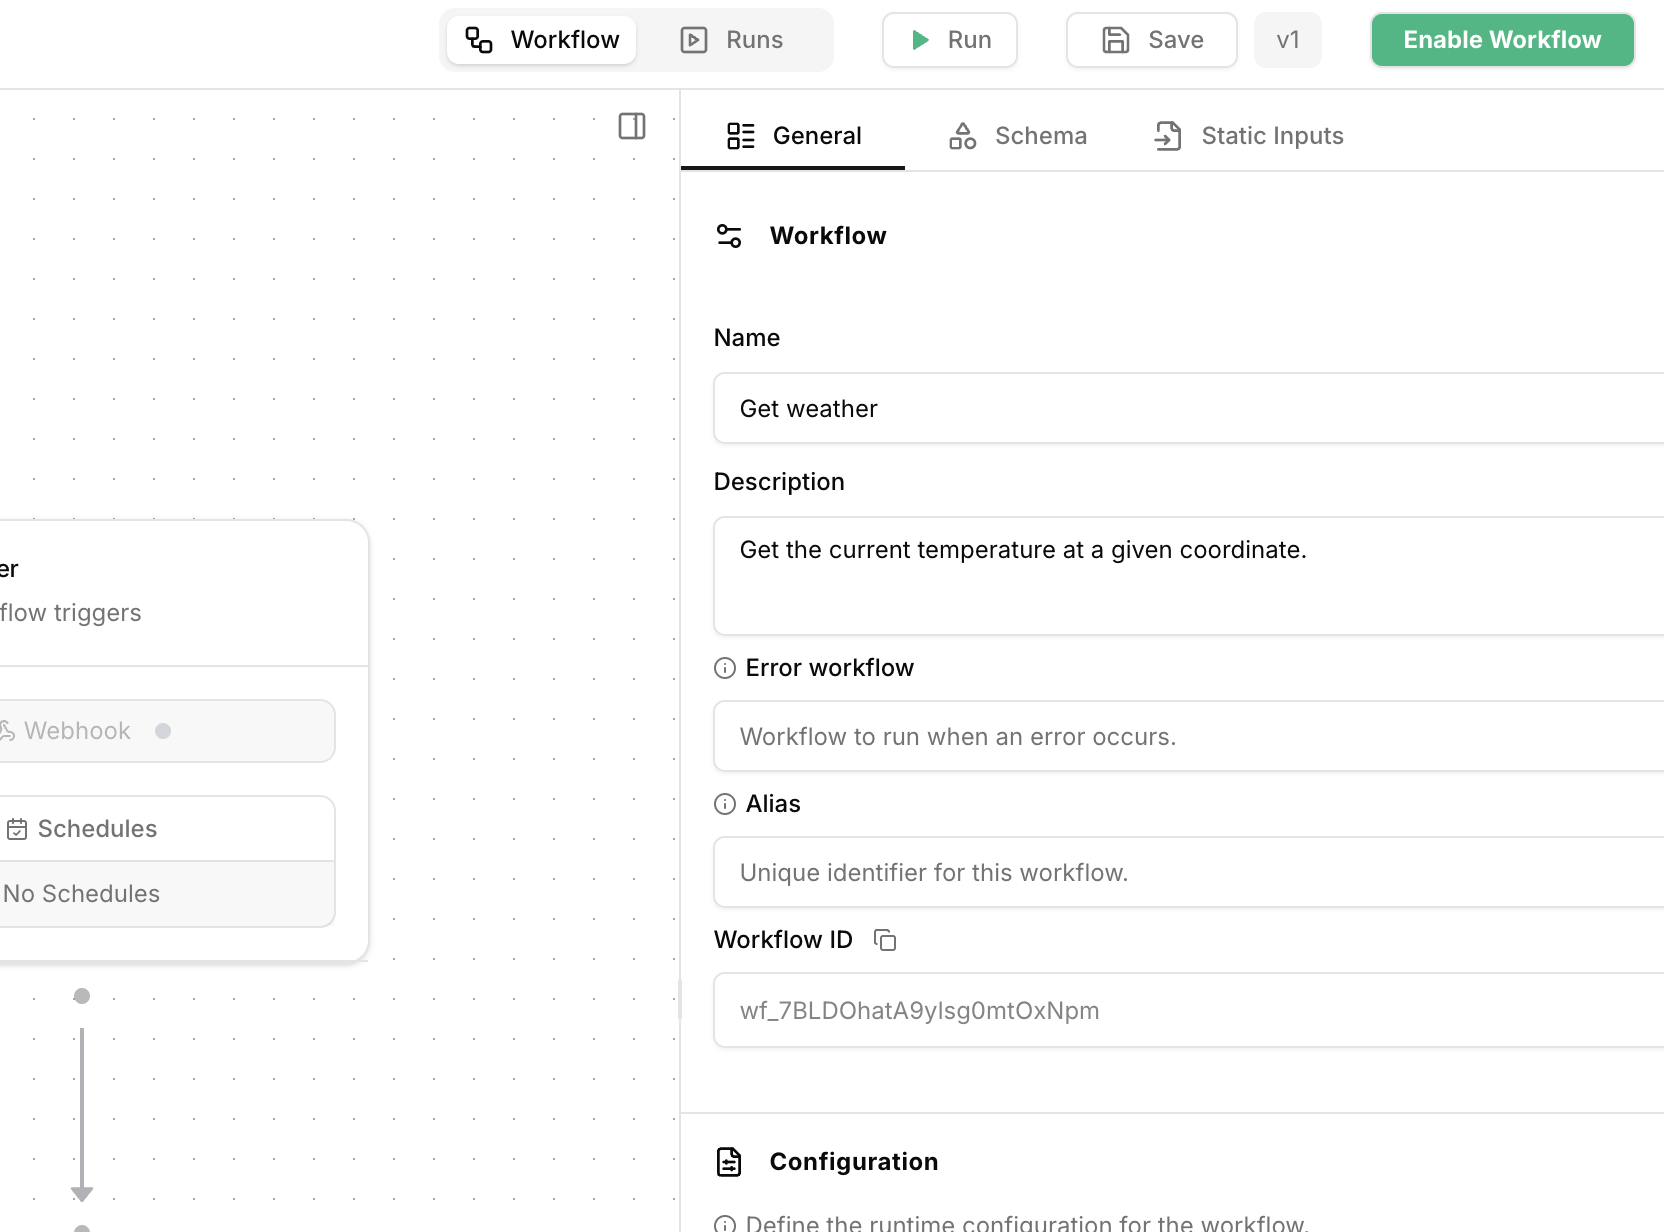
View available actions
View available actions
To add a new node to the workflow, either drag out the actions dropdown menu from the trigger node or right click on the workflow canvas.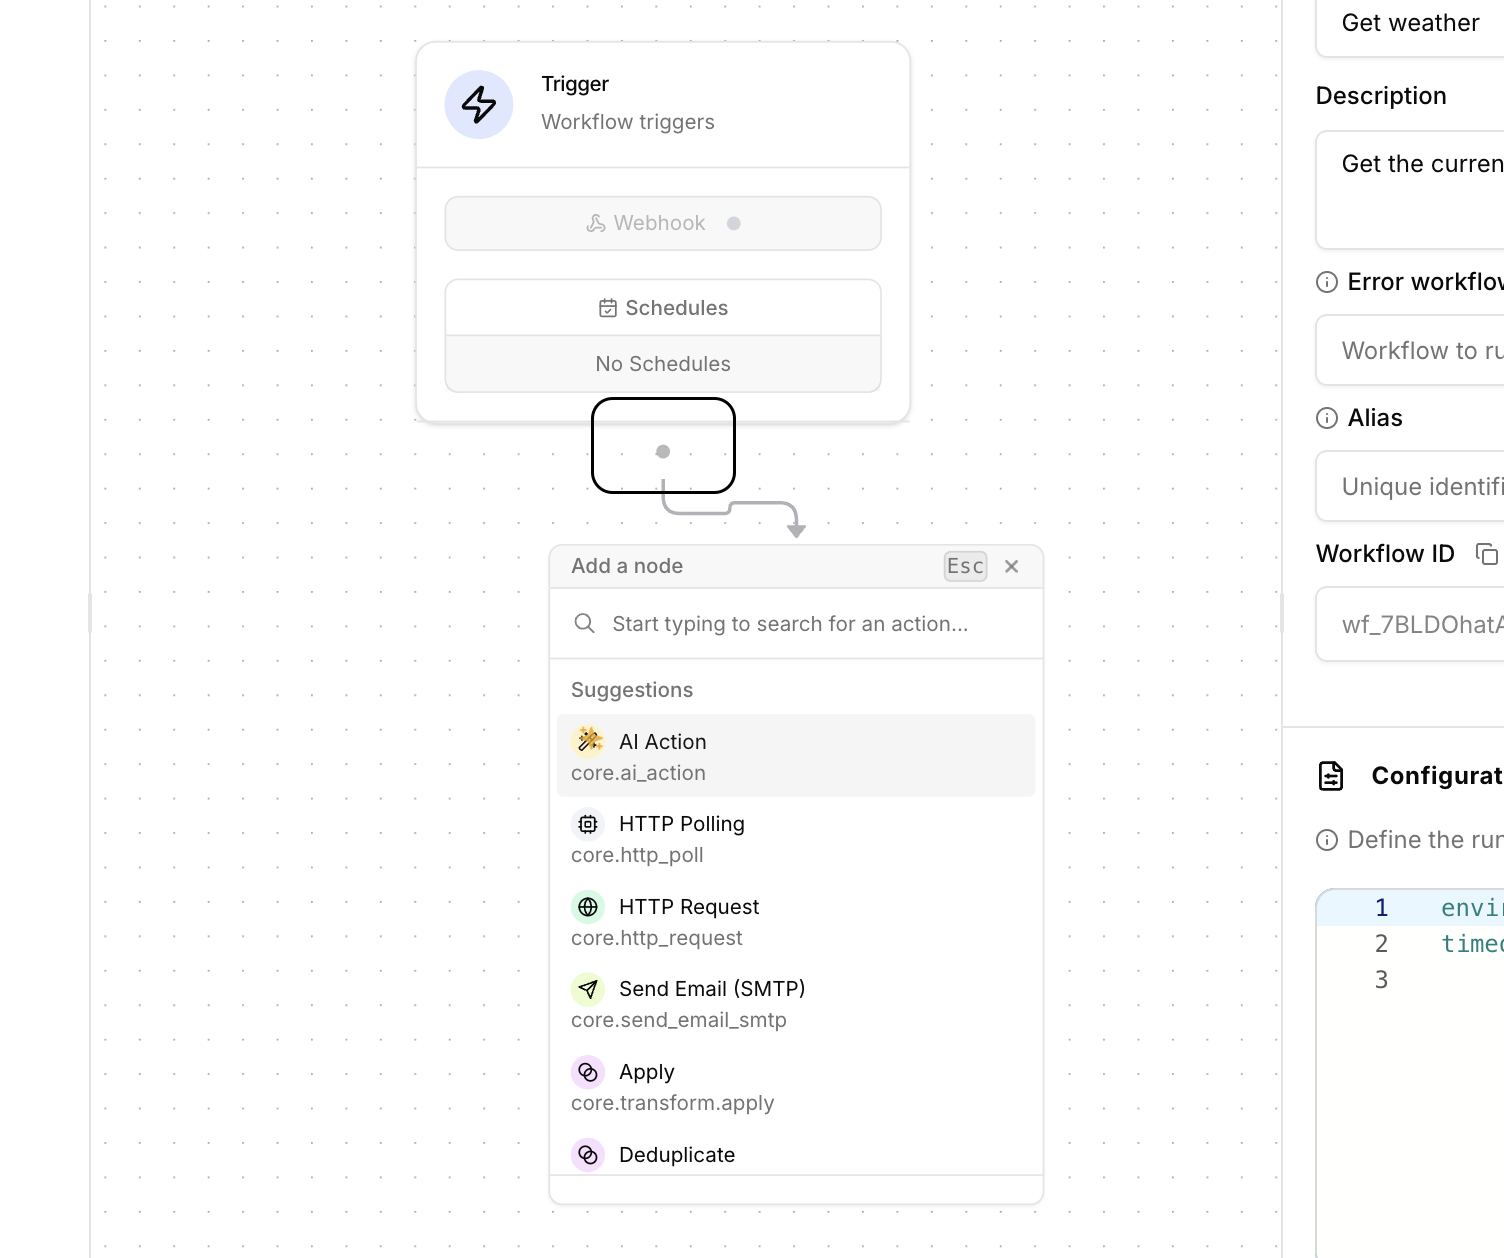
Add HTTP request action
Add HTTP request action
Search for and select the 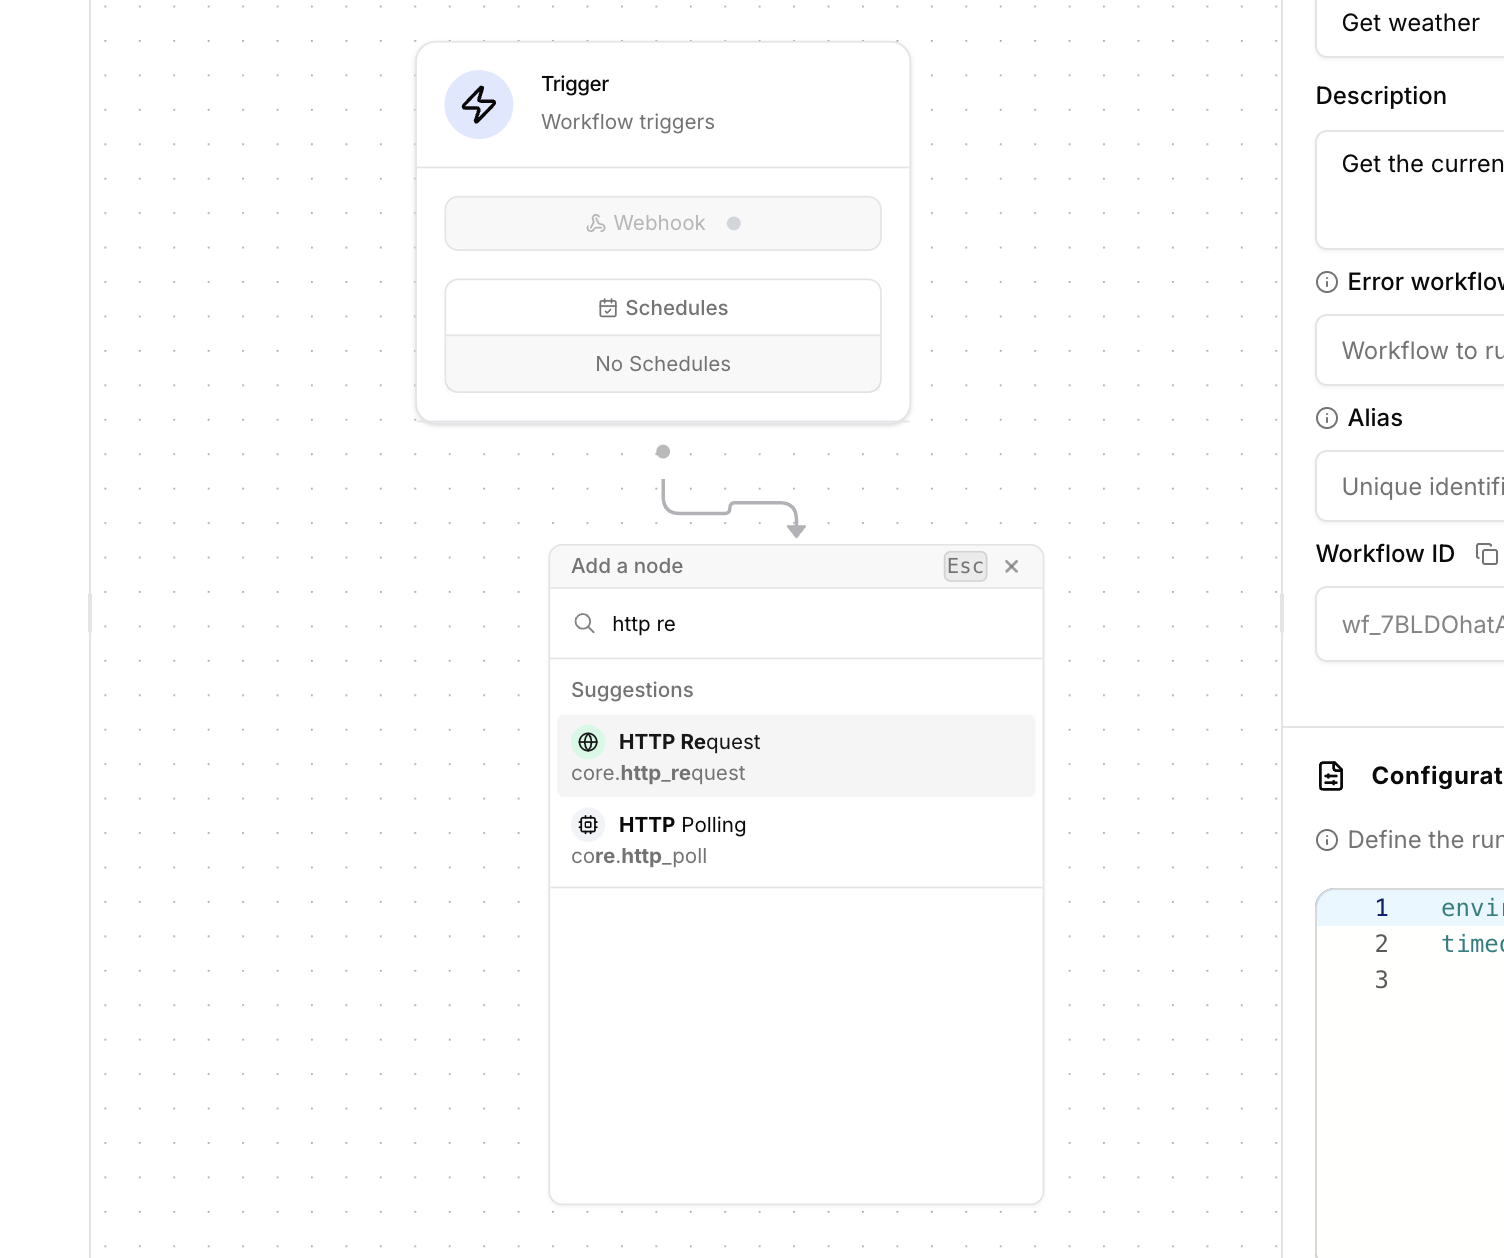
core.http_request action.Call an external weather API
Call an external weather API
Click on the 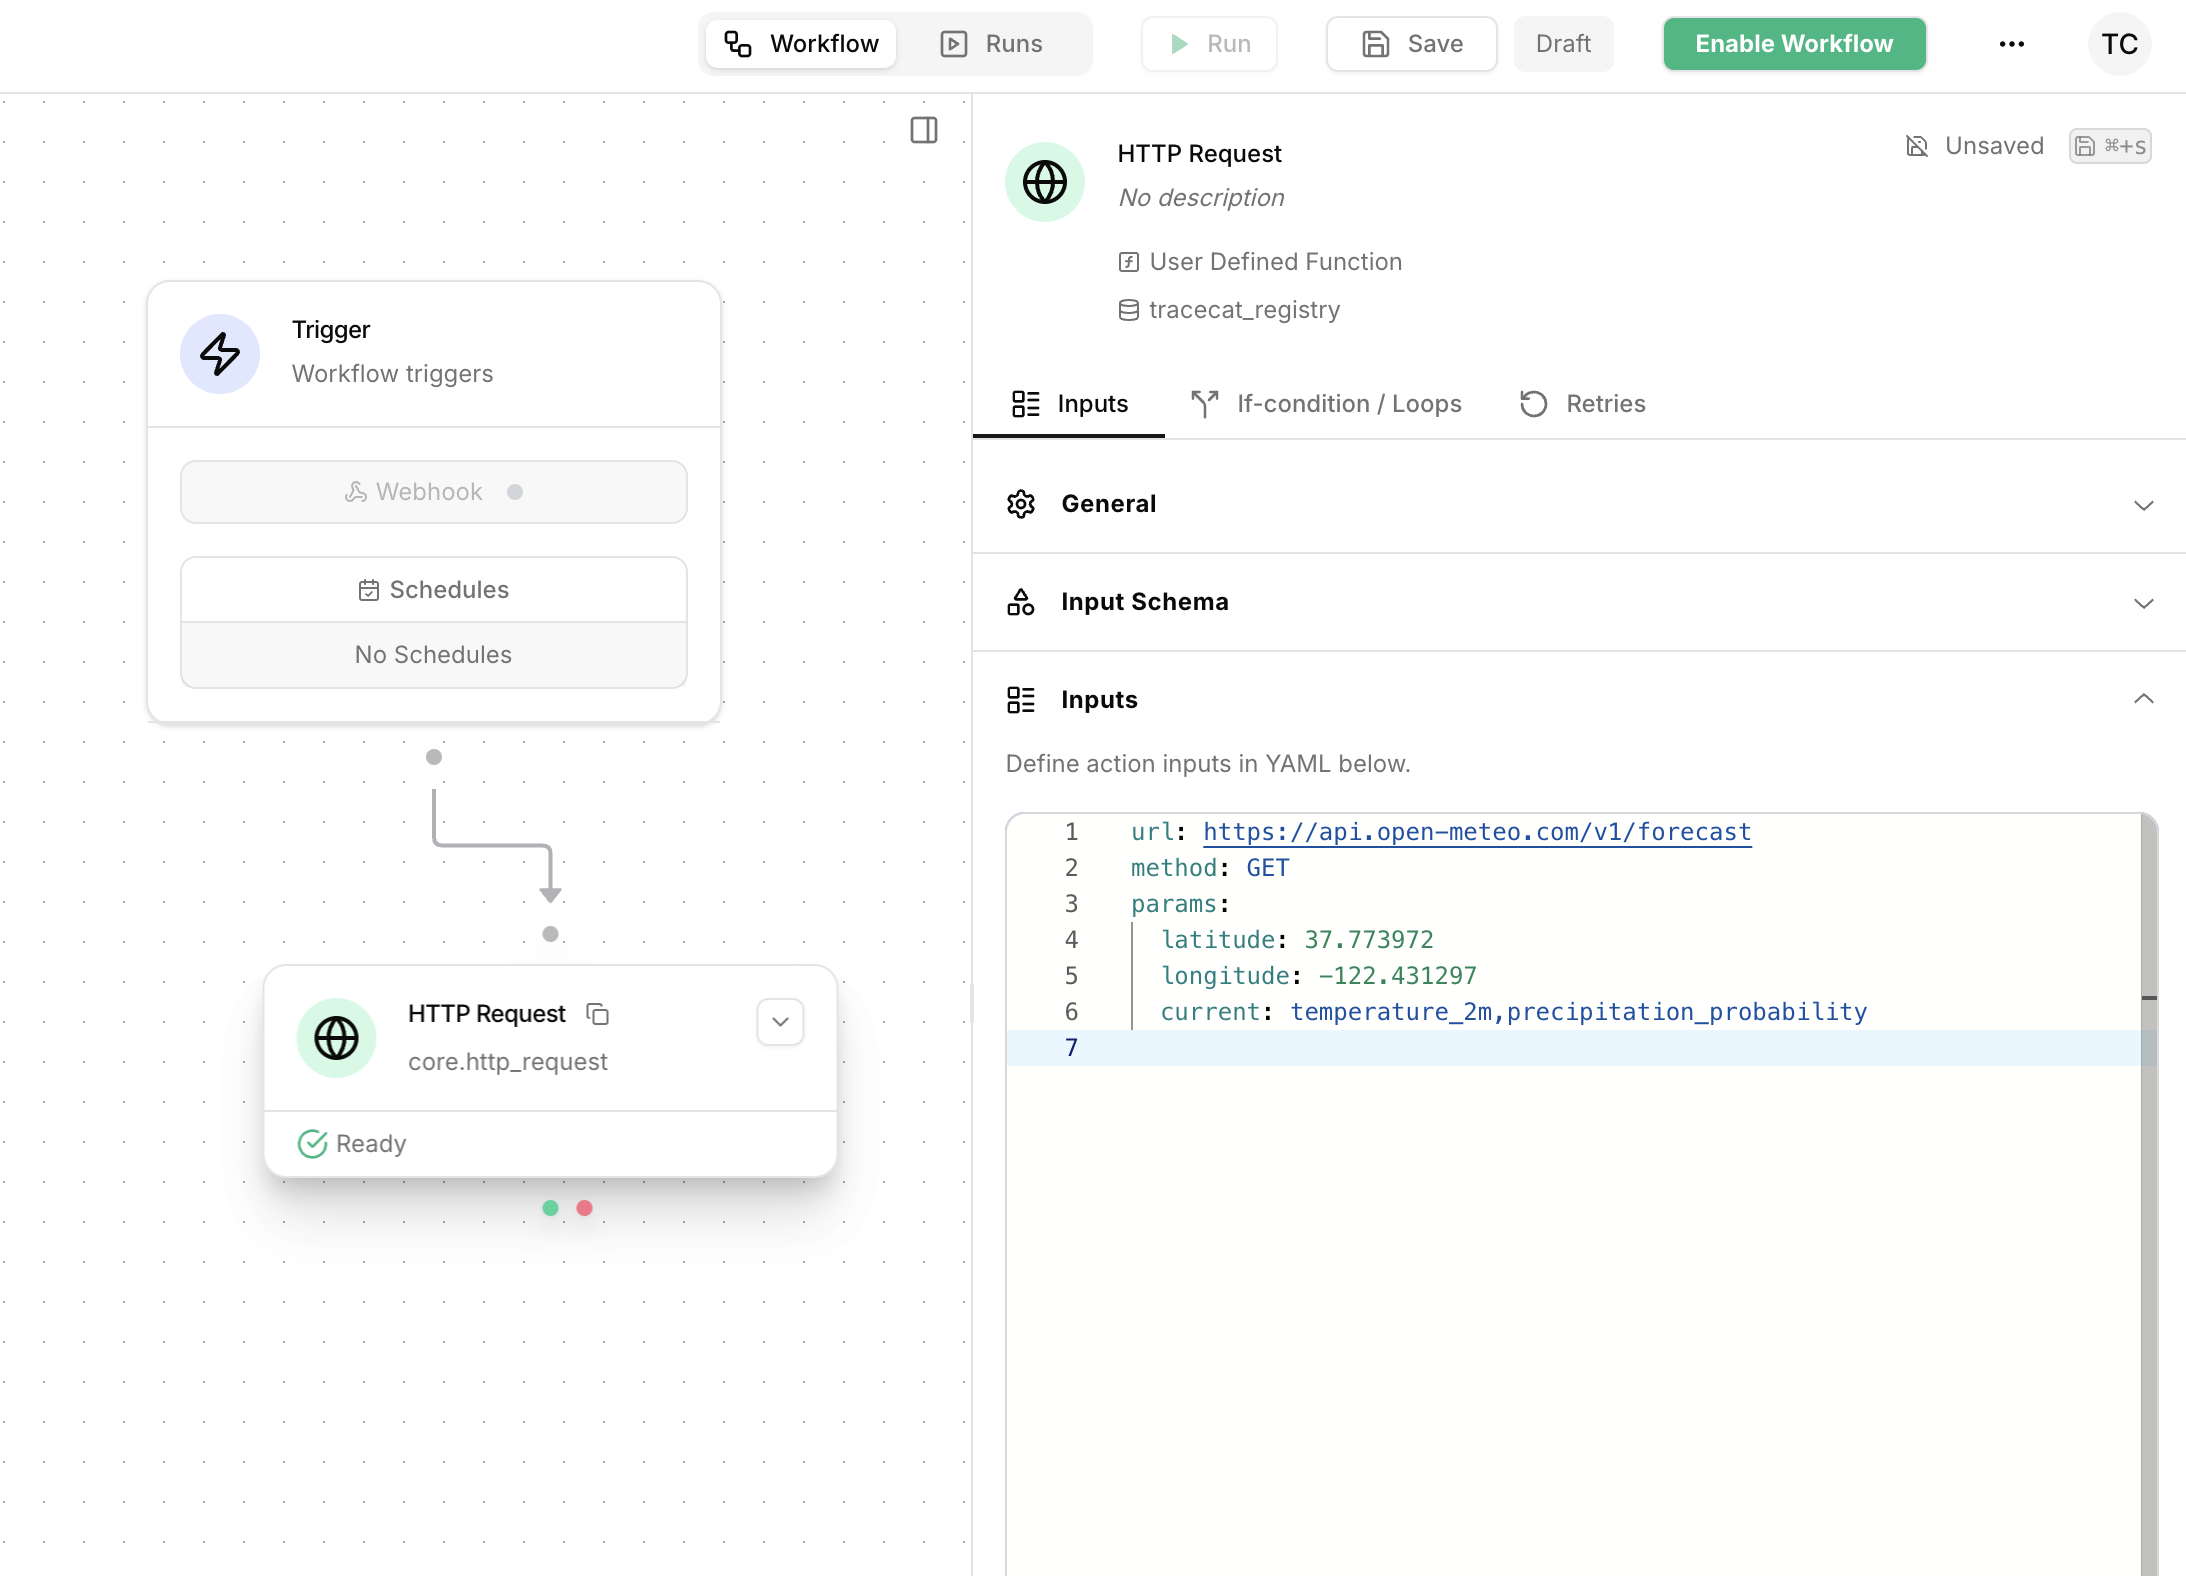
core.http_request node and fill in the inputs.
Tracecat uses YAML to define action inputs.
Press the cmd+s or ctrl+s keys to save your inputs.Save workflow
Save workflow
Before you can run your workflow, you need to save it.
You must explicitly save your workflow for changes to take effect in workflow runs.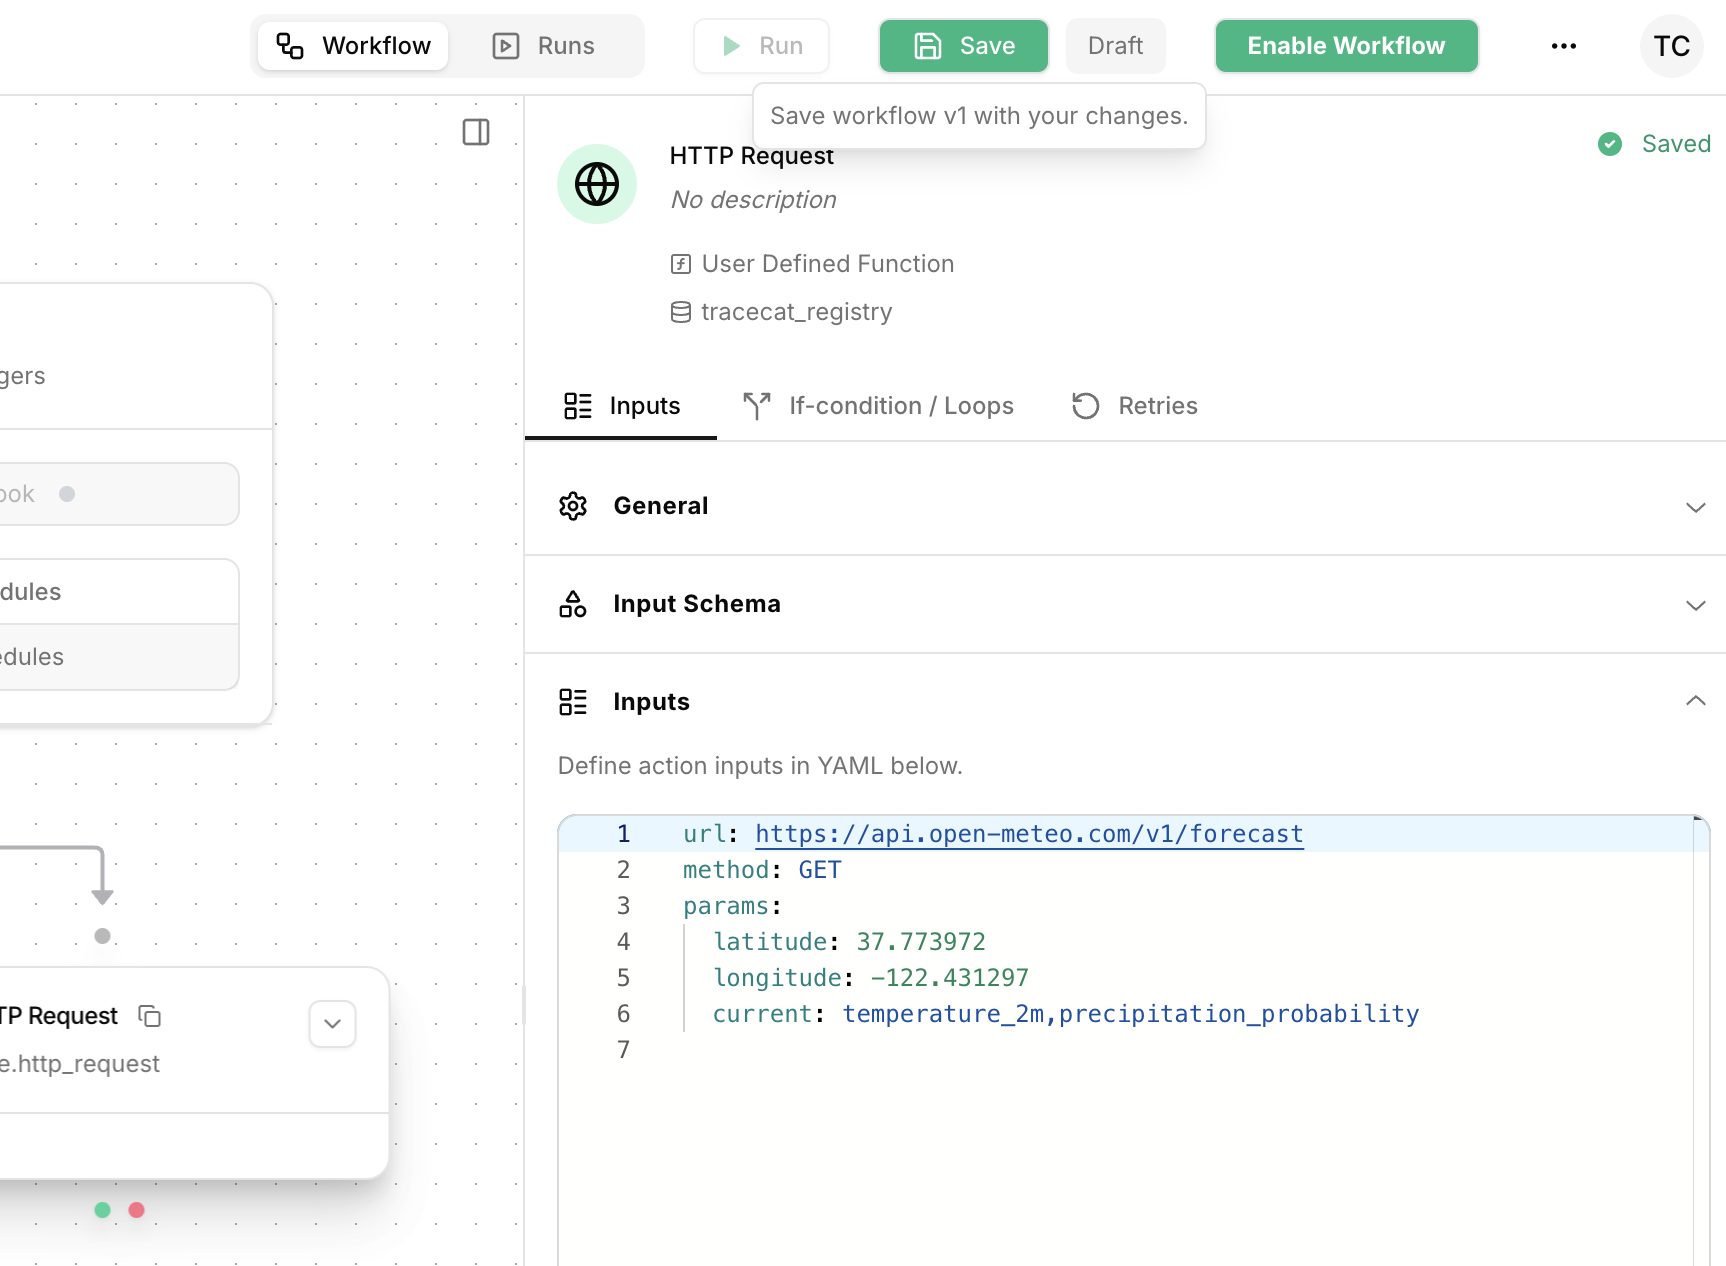
Run workflow via UI
Run workflow via UI
Click the 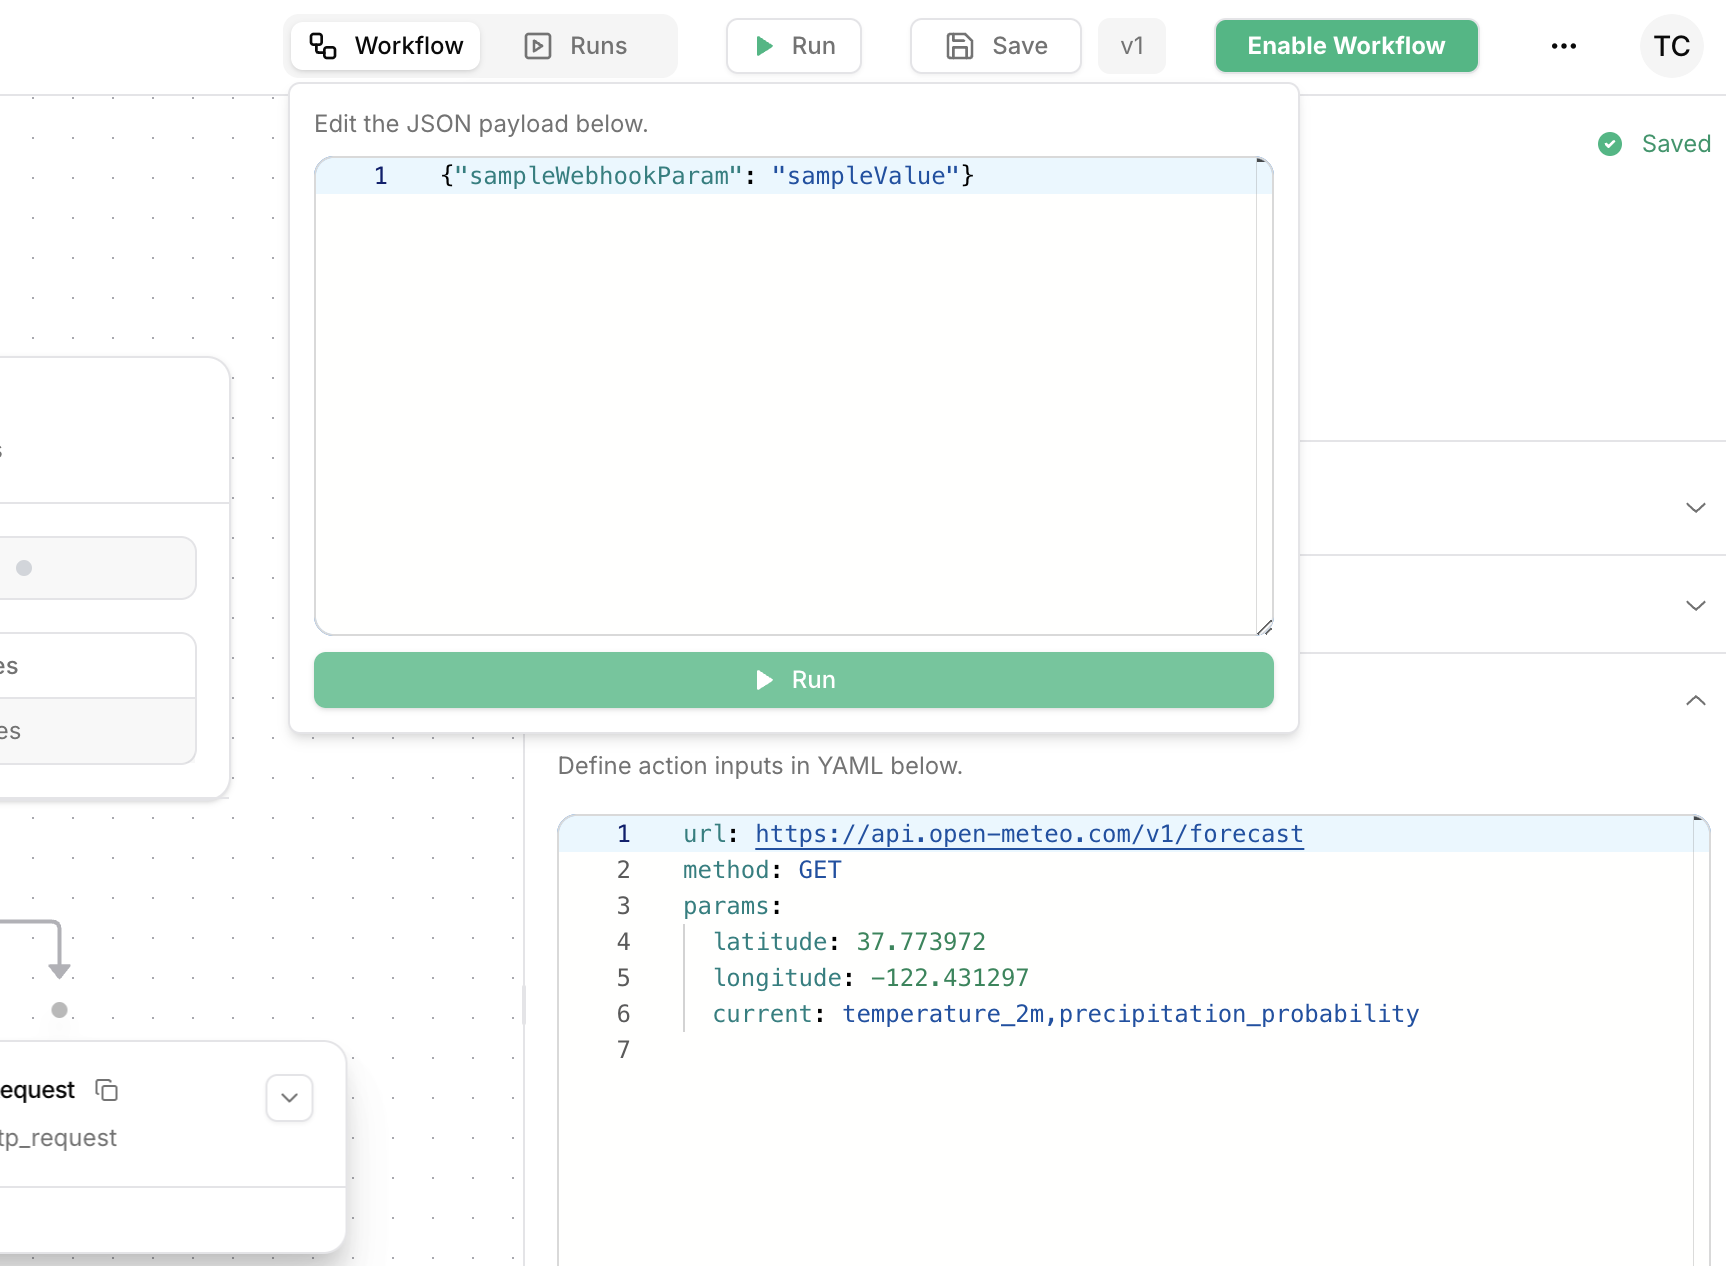
Run button to execute your workflow.You can ignore the sample webhook payload.
In a future tutorial, we will learn how to pass custom payloads into workflows manually via UI or webhook.View most recent run
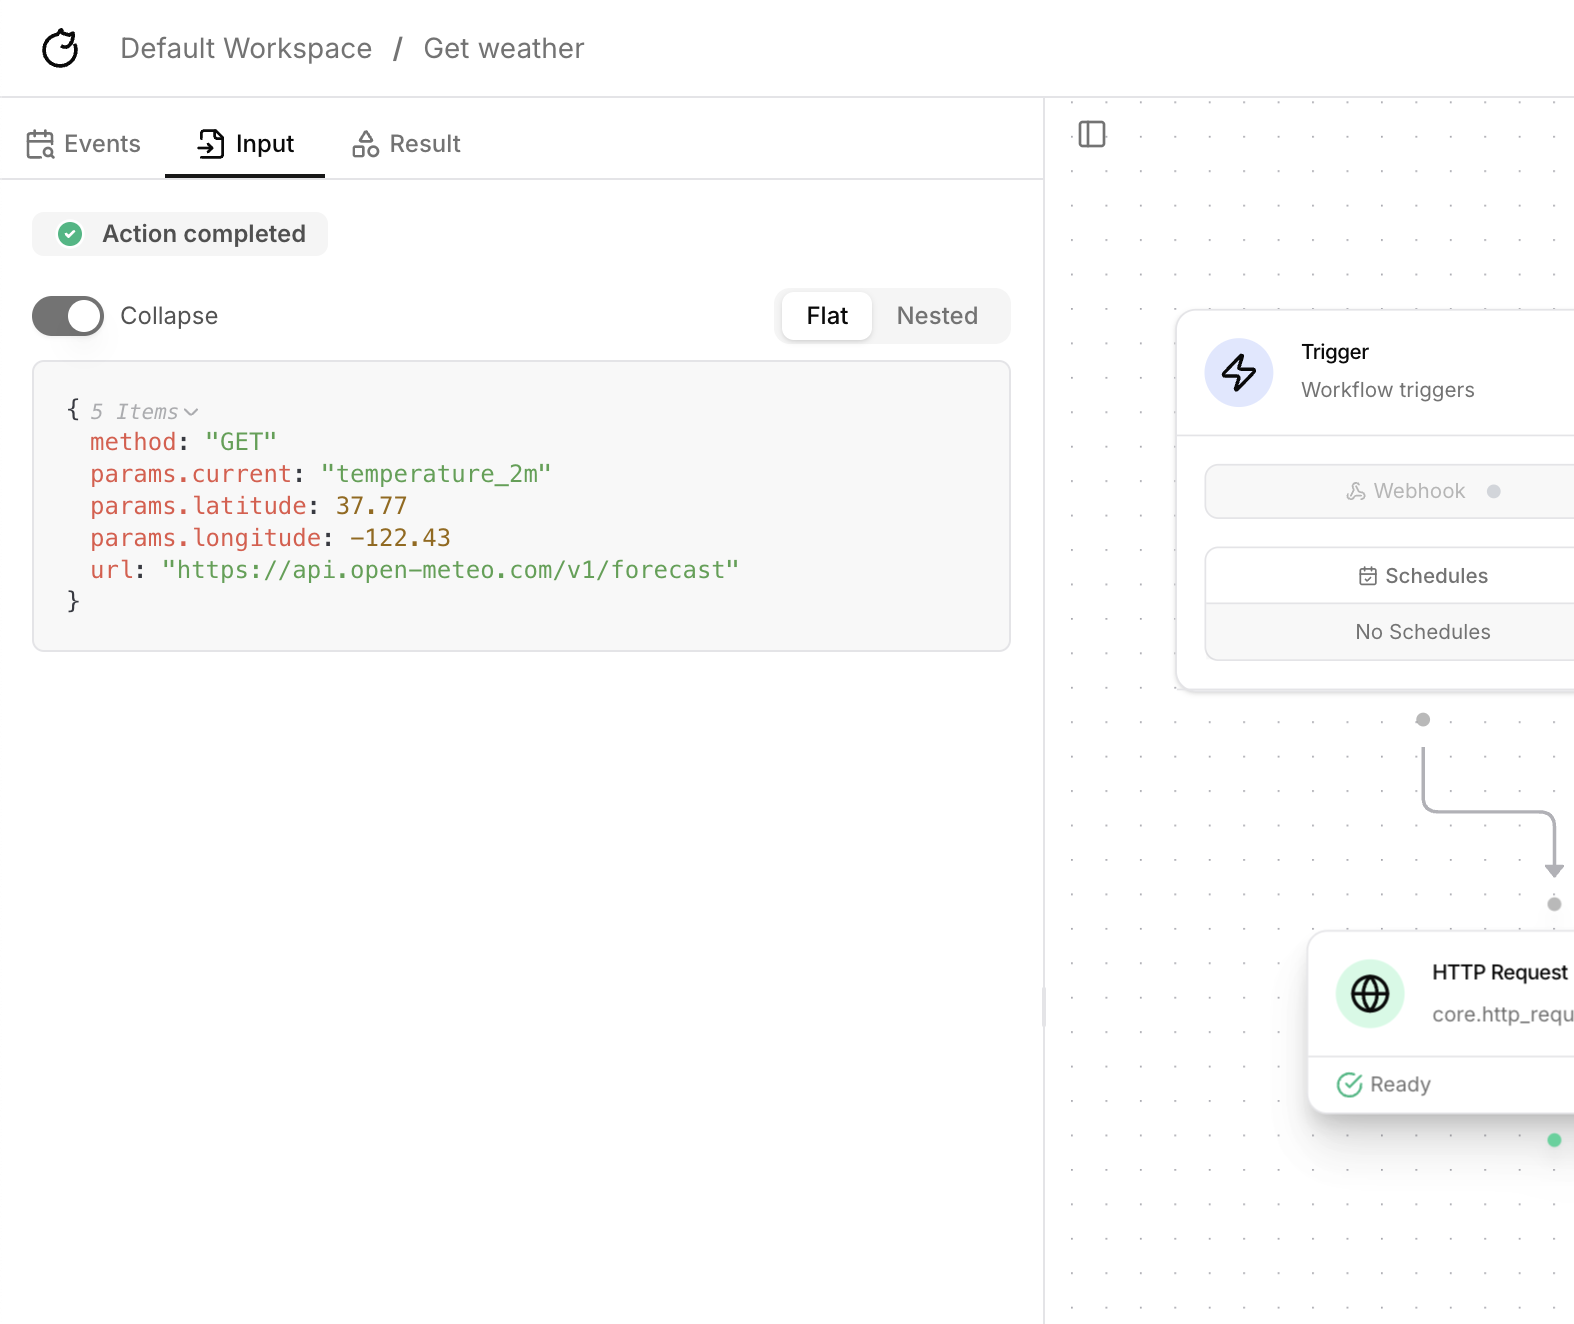
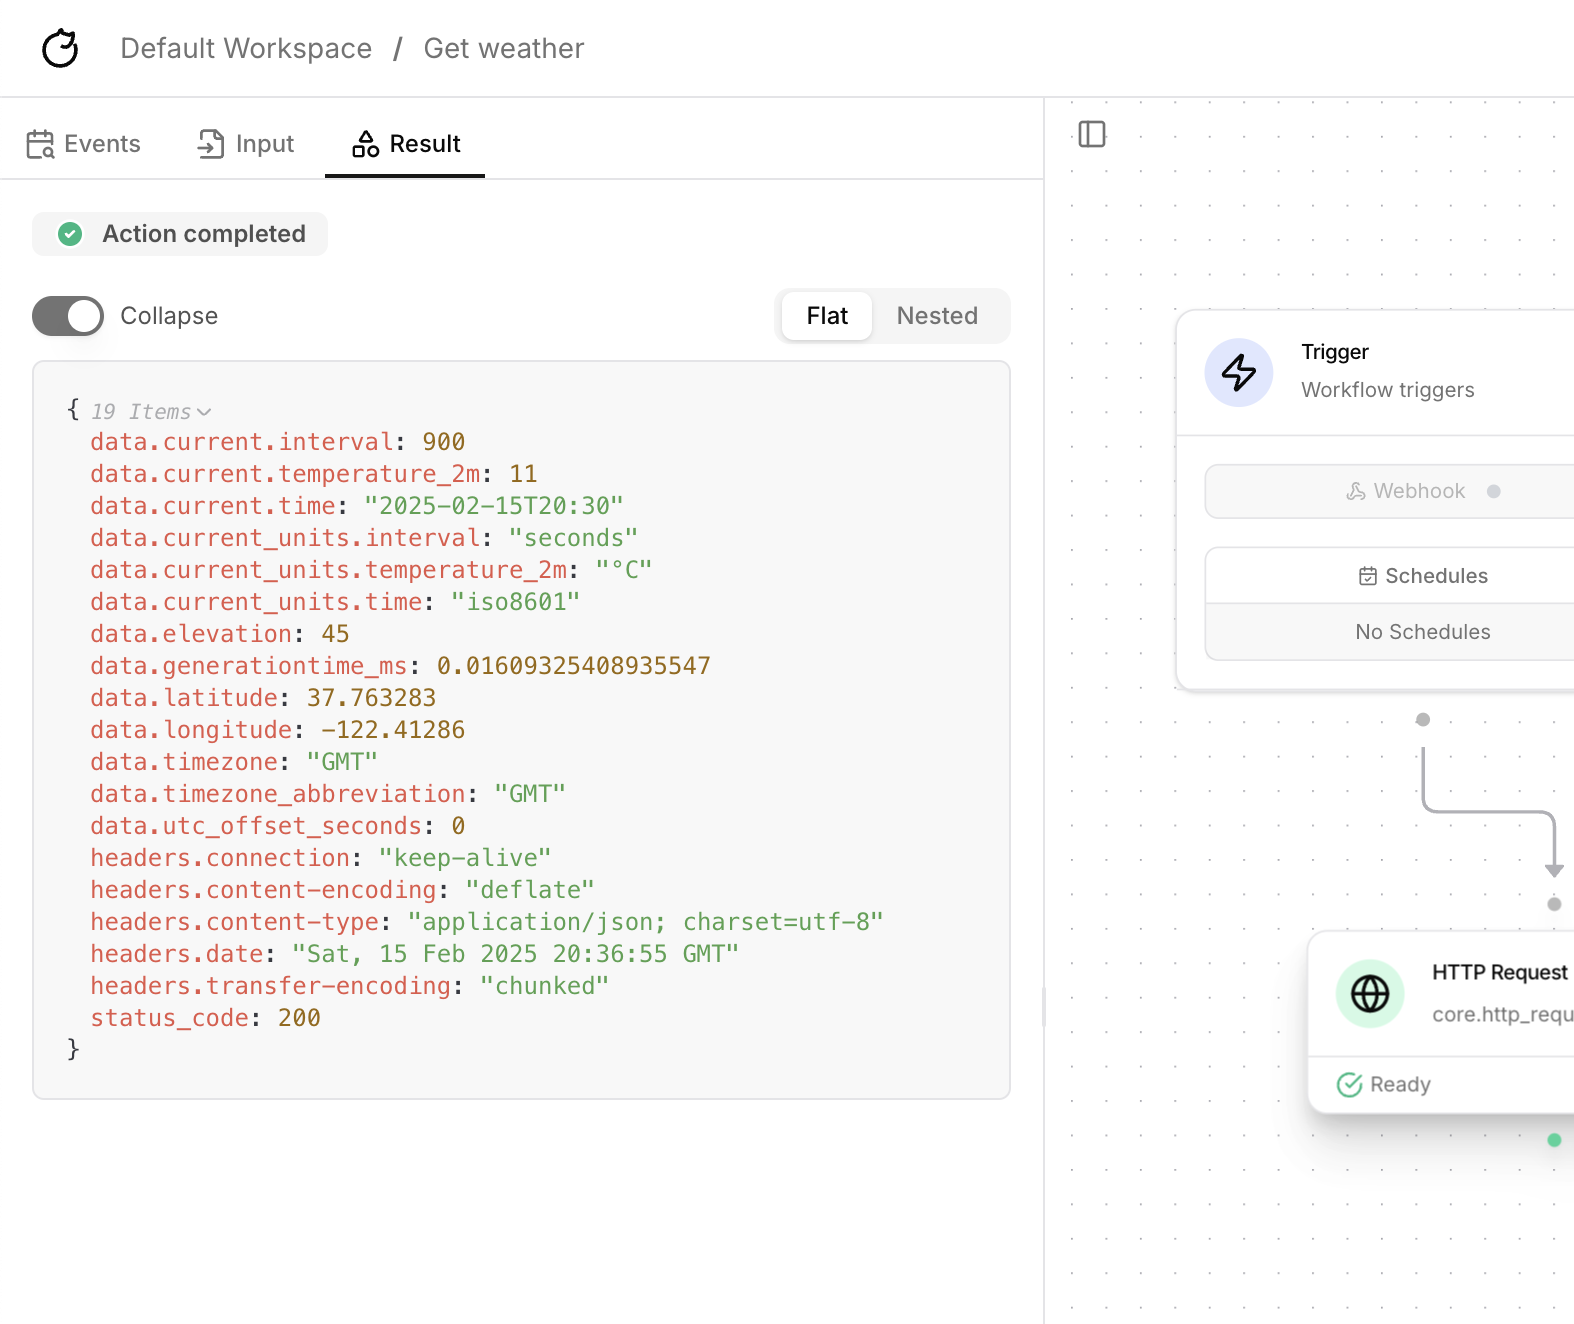
View most recent run
You can view the status of your most recent run in the left side panel.
Select actions row by row to view their inputs and outputs.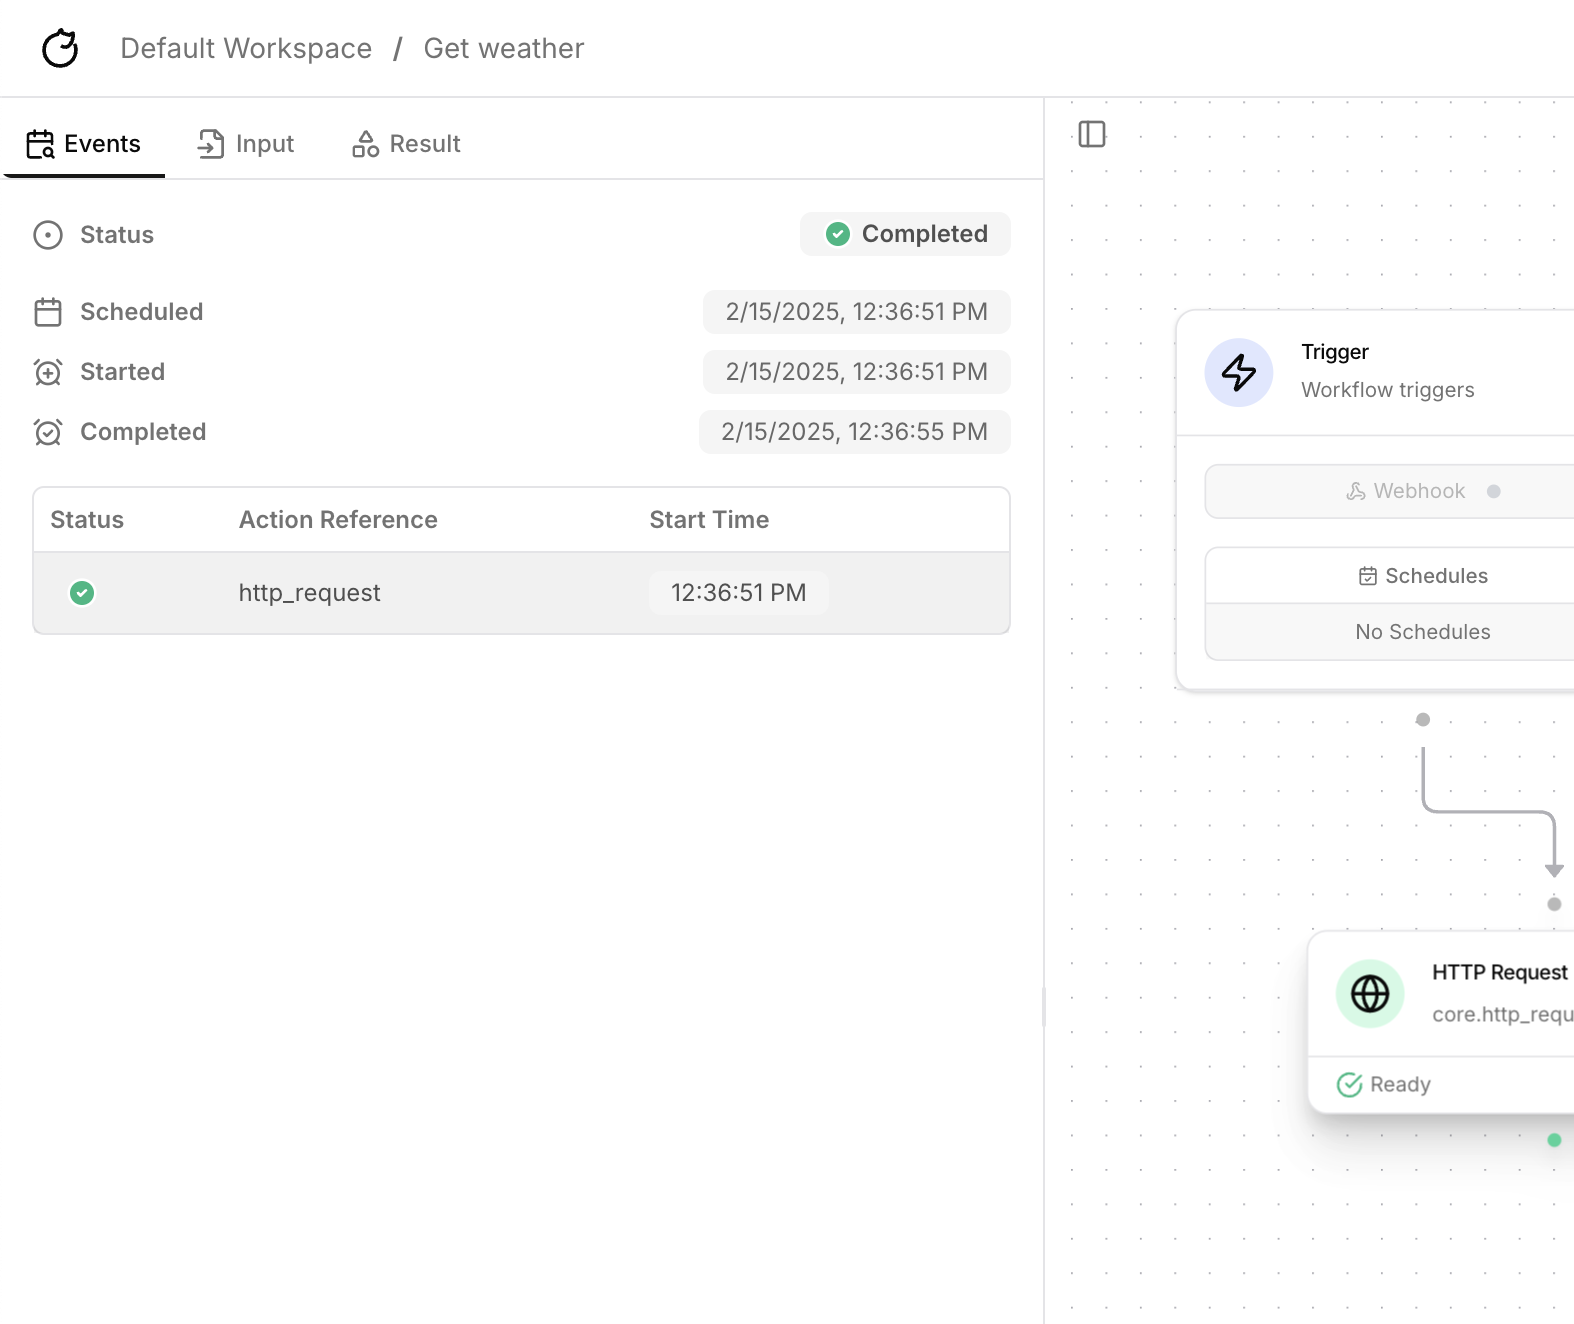
- Events
- Action input
- Action result
View supported action inputs
View supported action inputs
You can view the required and optional inputs for an action under the 
Input schema section.Actions and integrations
Actions are the building blocks of Tracecat workflows. Tracecat has two main types of actions:coreactions for core functionality (e.g. HTTP request, AI action, and data transforms).toolsactions for integrations to 3rd-party services.
Tracecat uses JSONPath
and dot notation to select outputs from previous actions.
JSONPath can also be used to filter and transform nested JSONs.Both
ACTIONS and TRIGGER expression contexts support JSONPath syntax.
If you are new to JSONPath or need a refresher, check out our JSONPath syntax cheatsheet.Search for integrations
Search for pre-built integrations in the actions dropdown menu.
Do this by right clicking on the workflow canvas or dragging it out from an existing node.
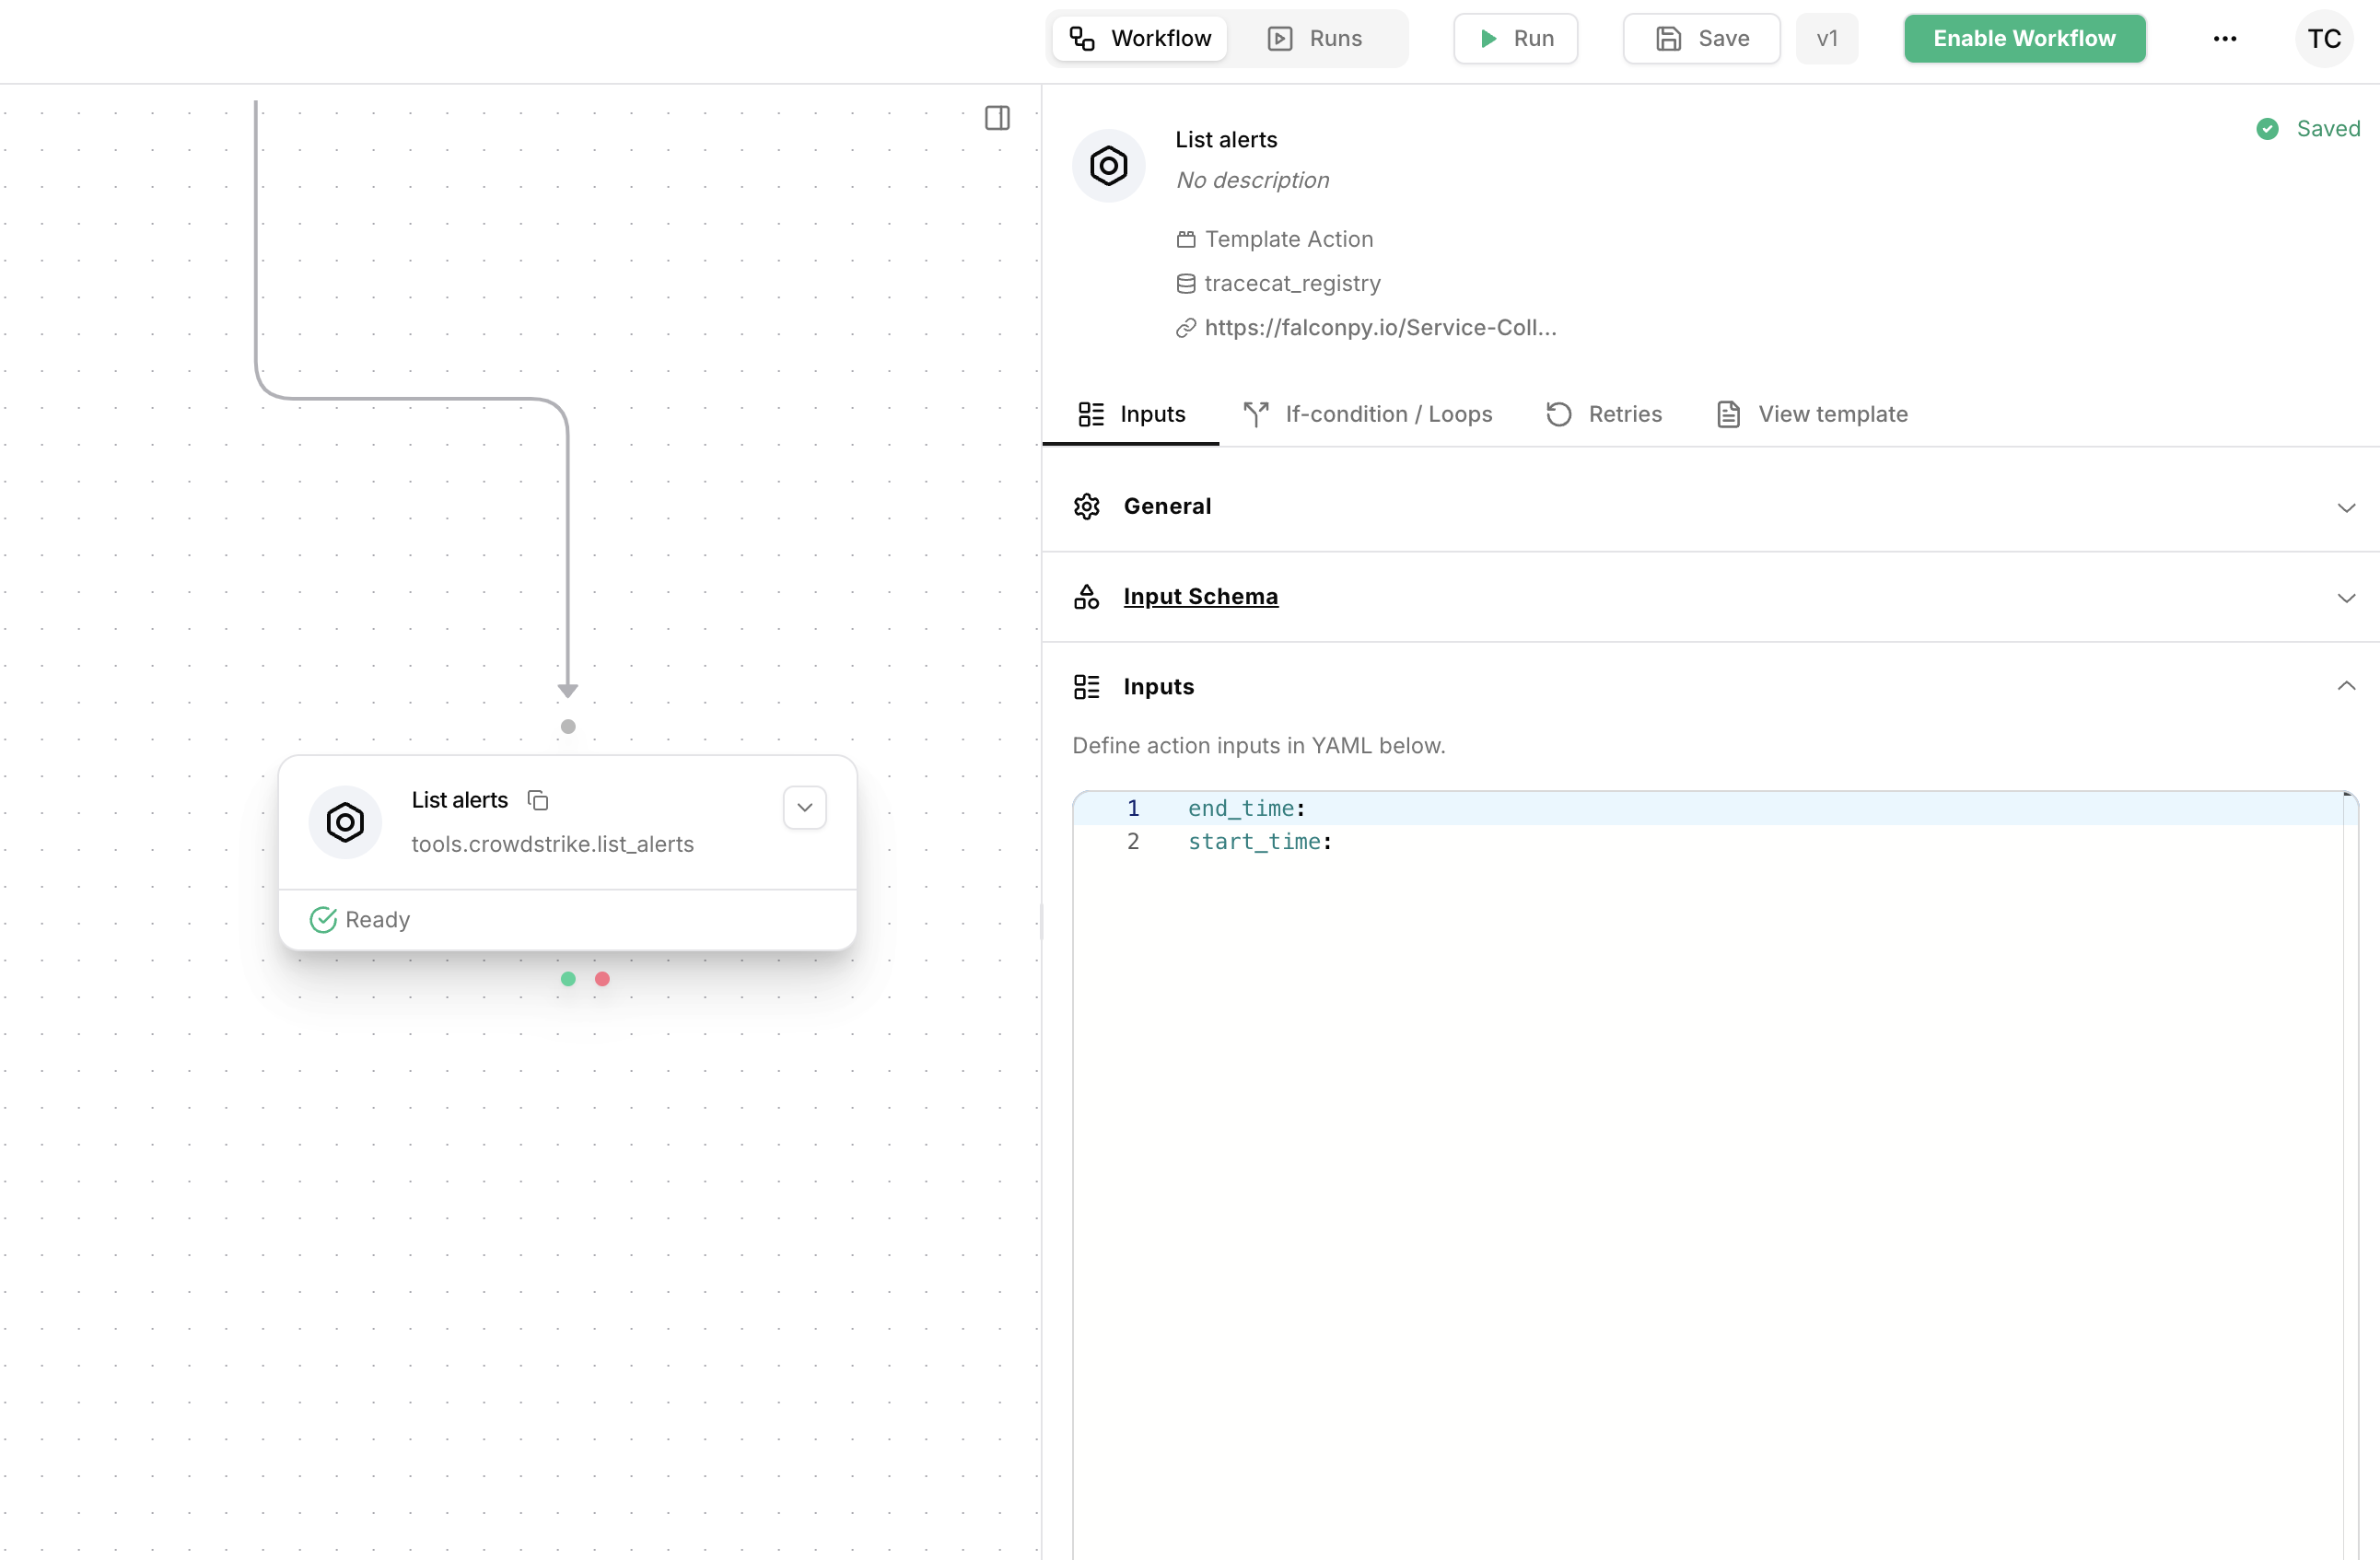
View schema and metadata
Expand the 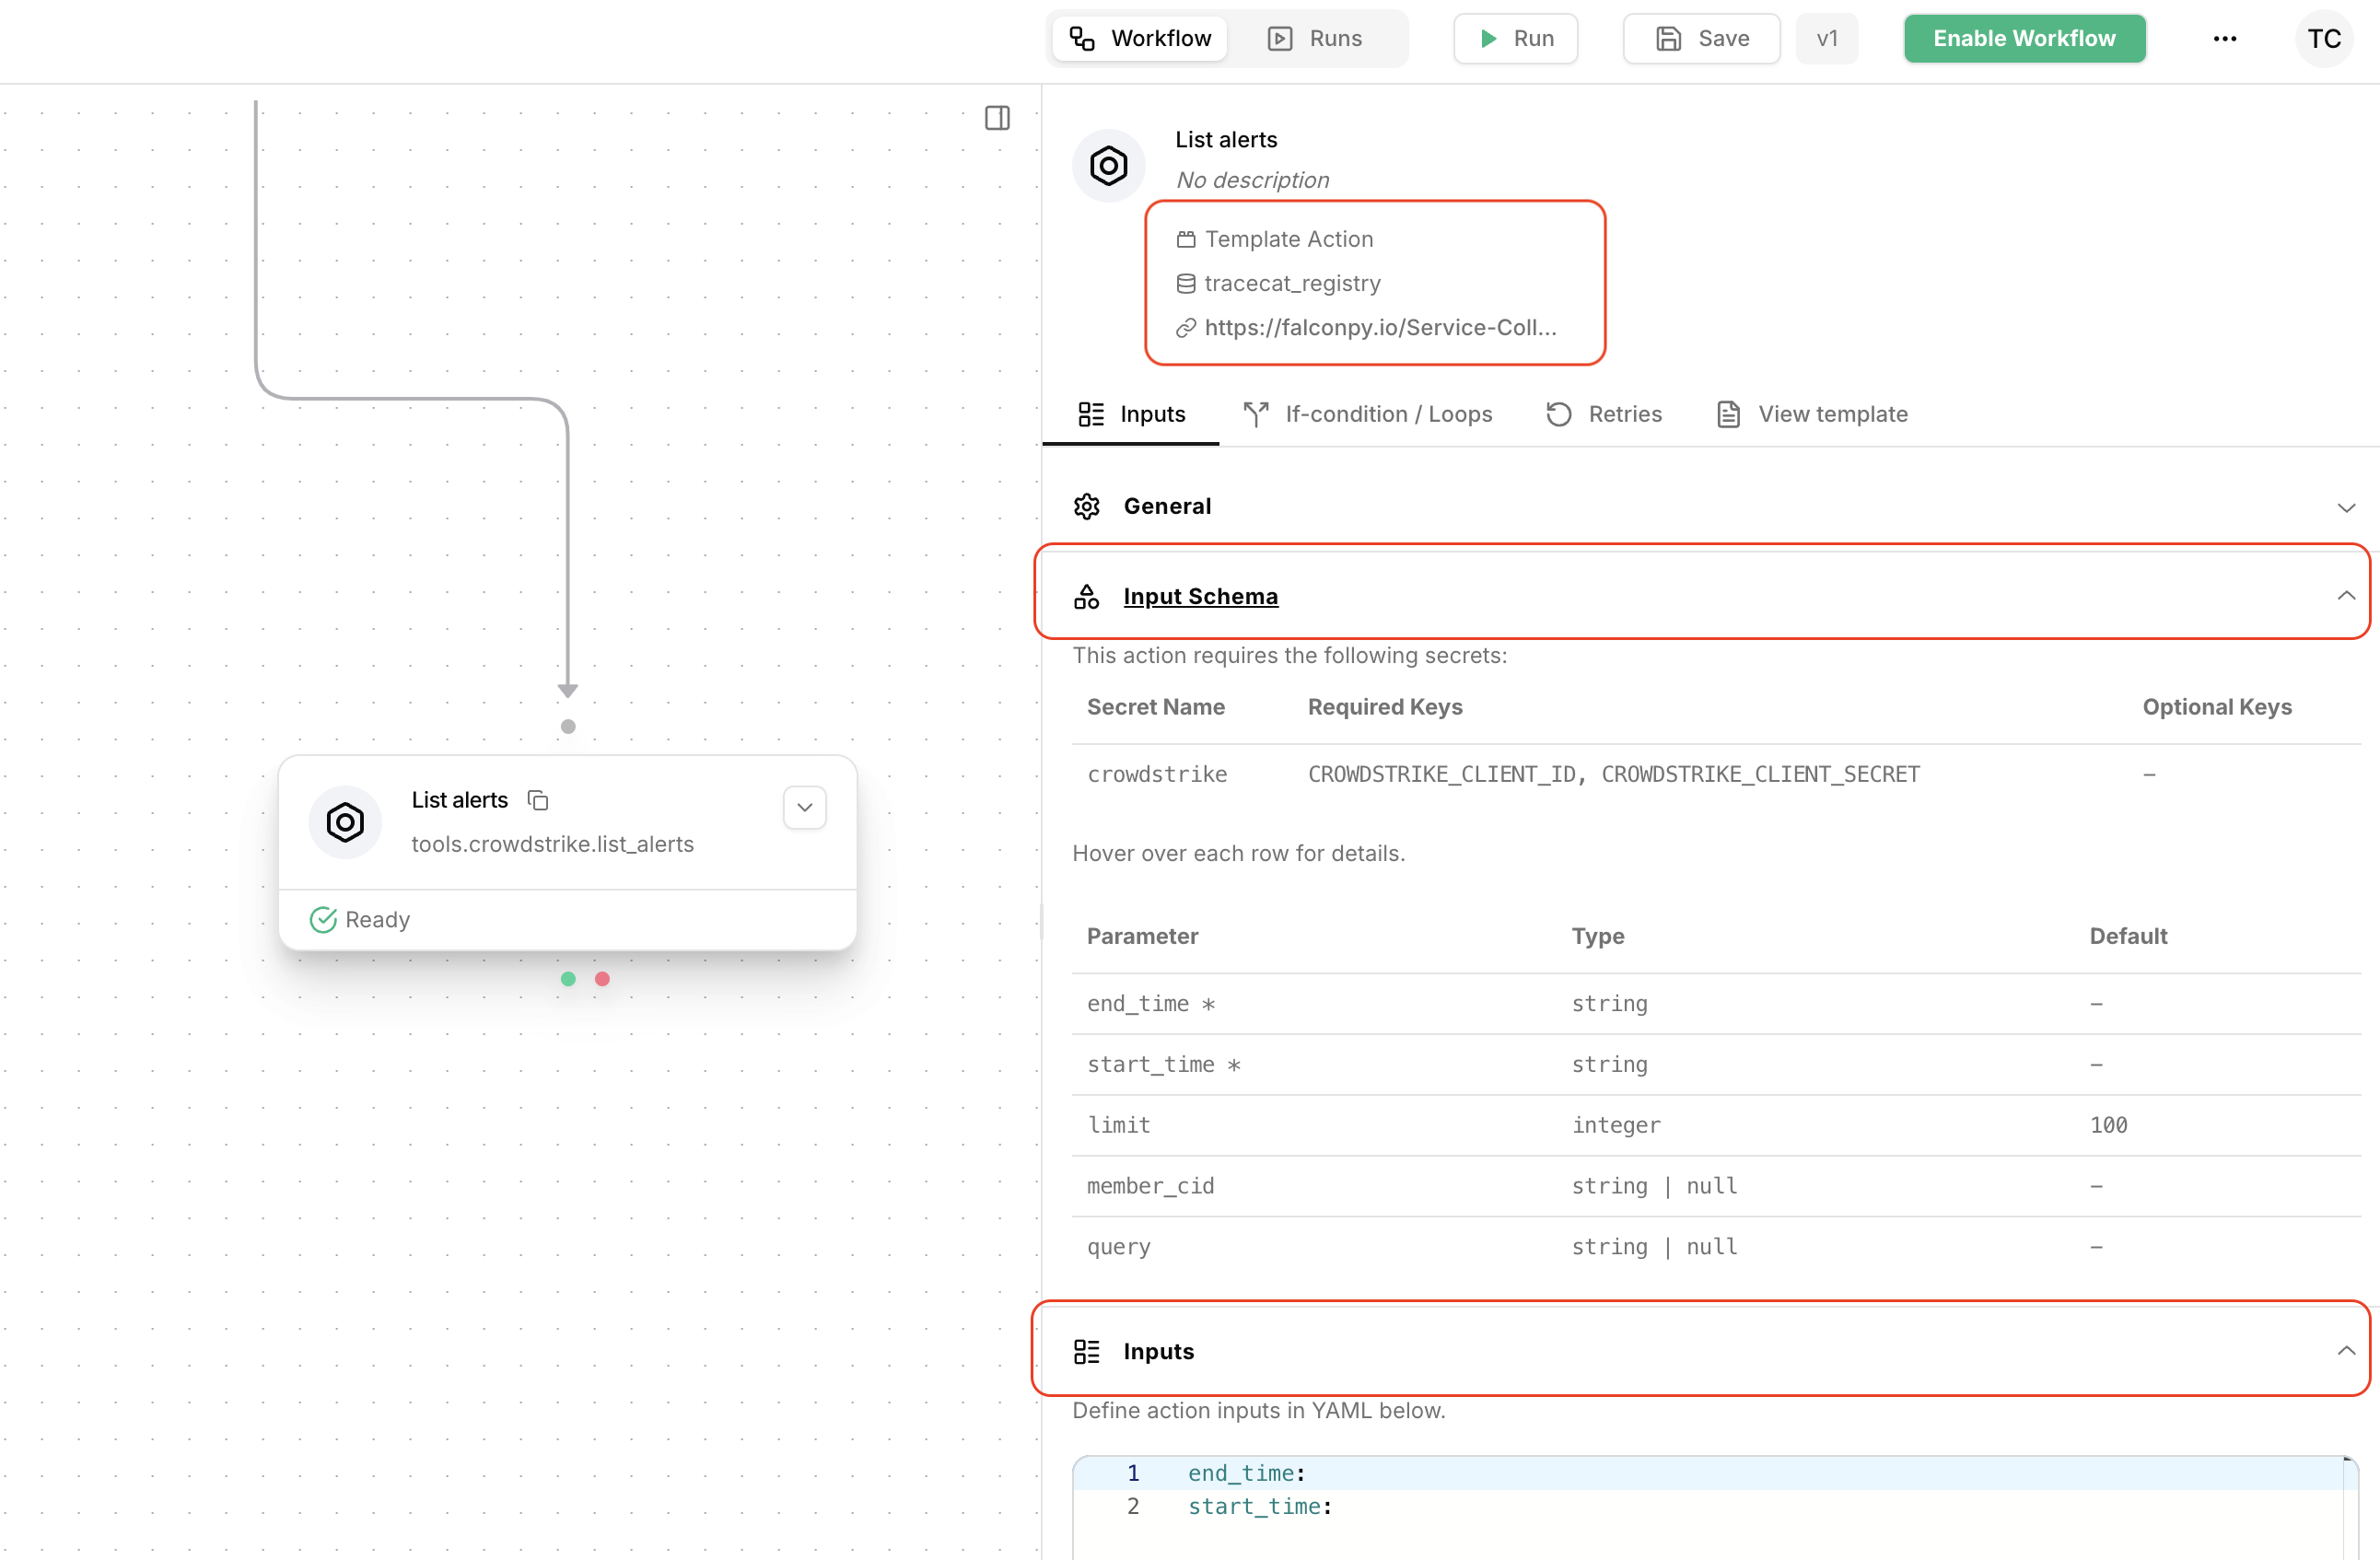
Input schema section to view all supported inputs and required secrets.
What next?
- Learn about Tracecat’s core actions.
- Configure control flow with if-conditions, looped actions, and branching logic.
- Get data from actions and webhooks using expressions.
- Trigger workflows via webhooks and schedules.
- Build and sync your own custom integrations from a private Git repository.
- Join our Discord community for ideas and support.