

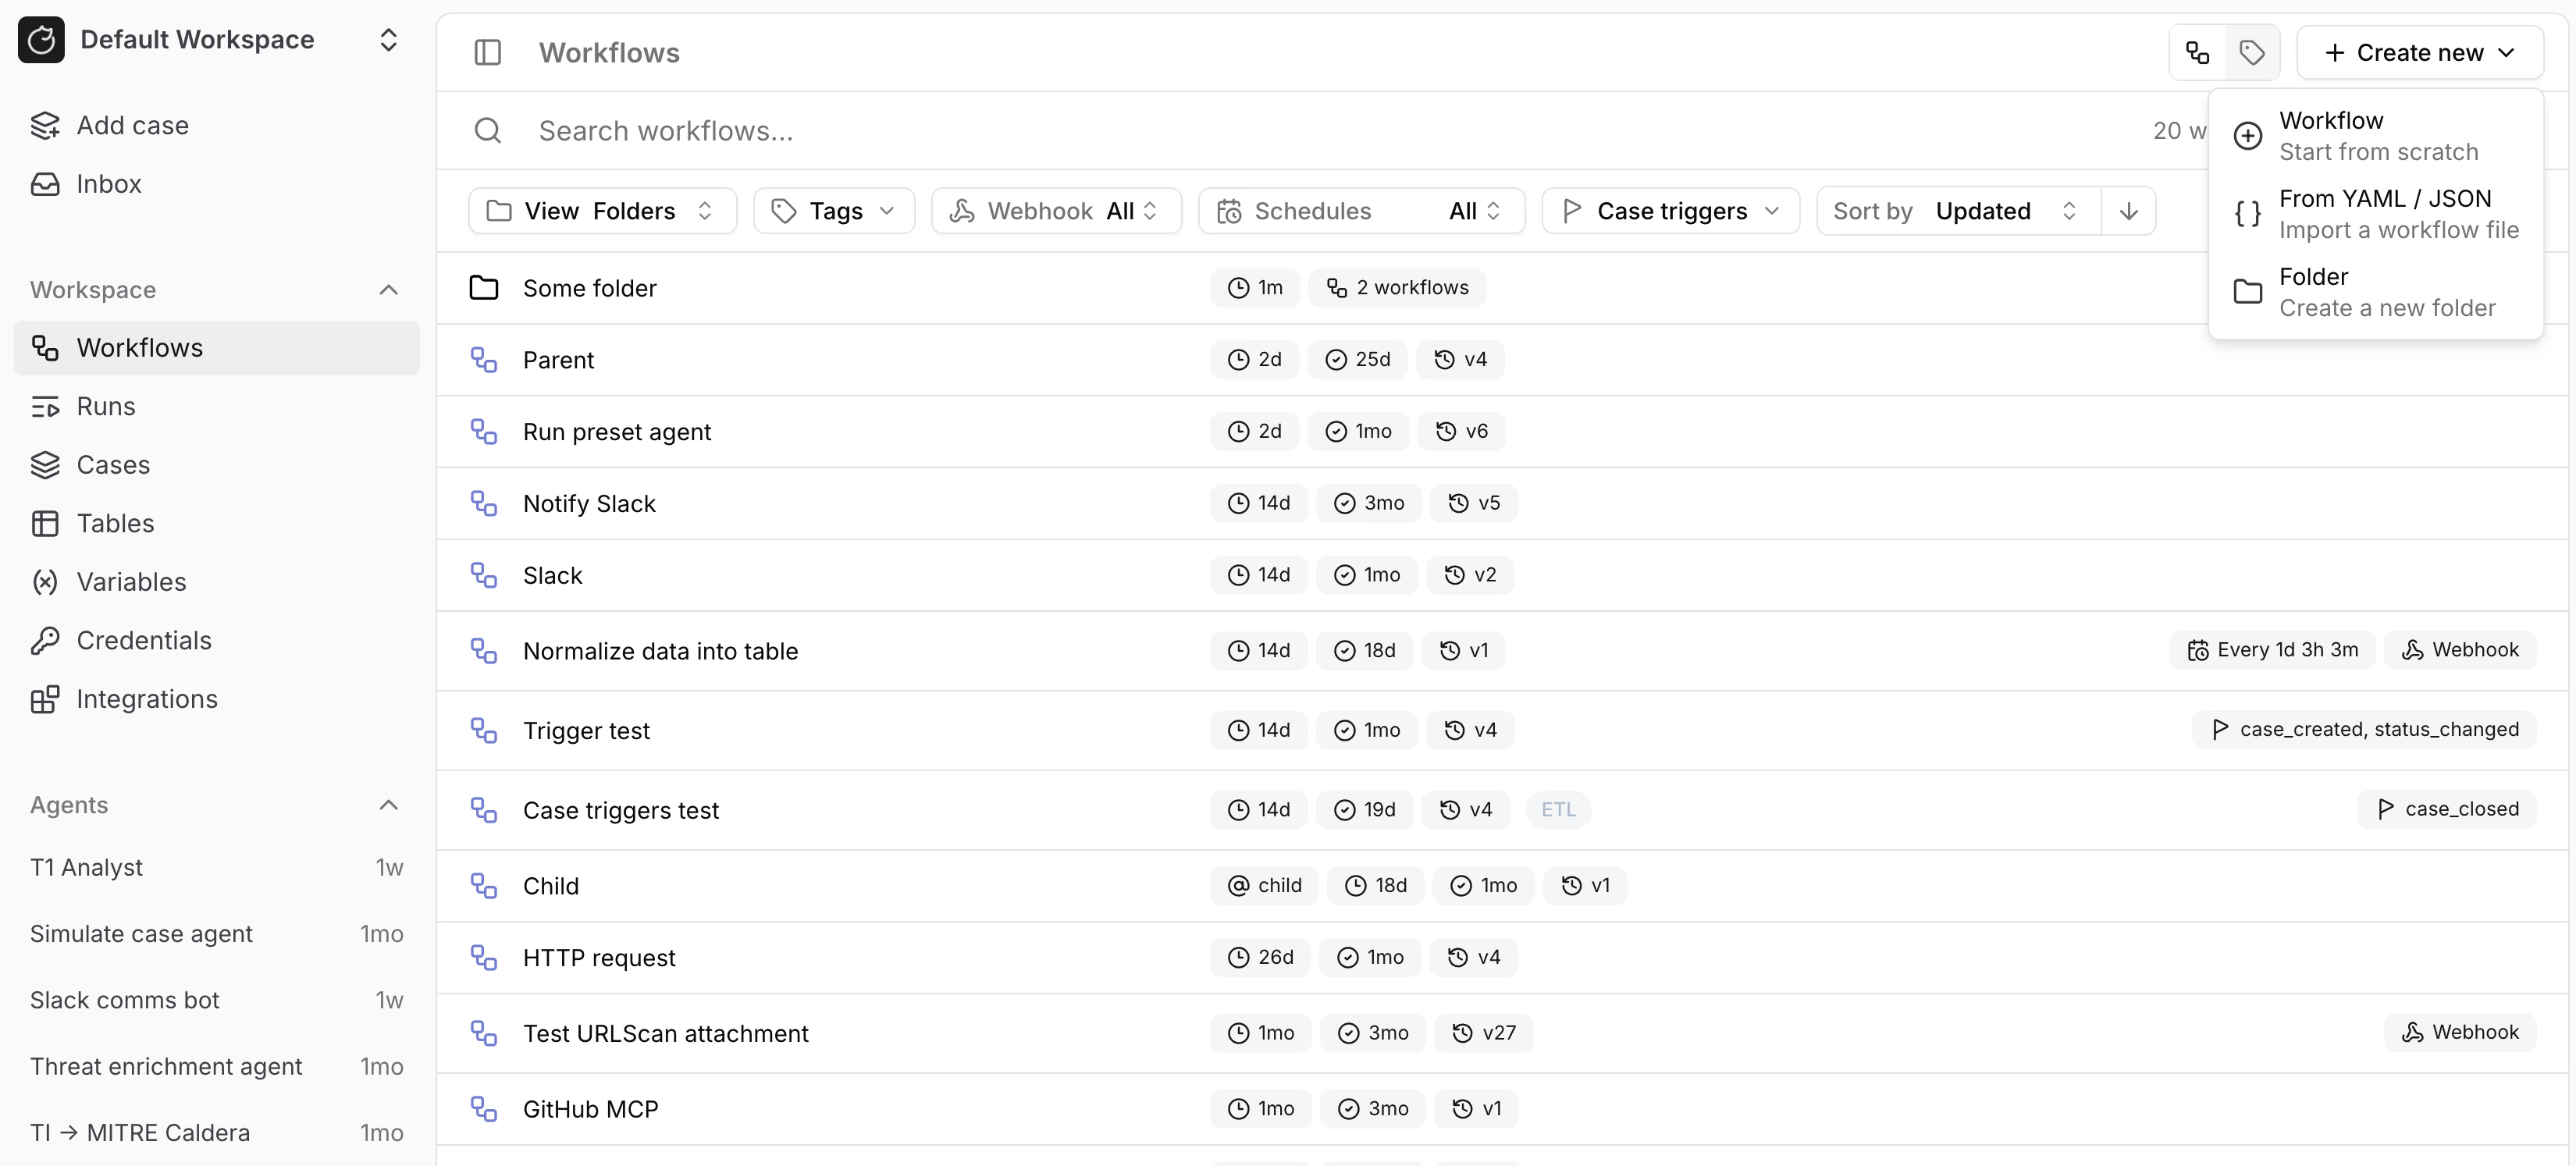
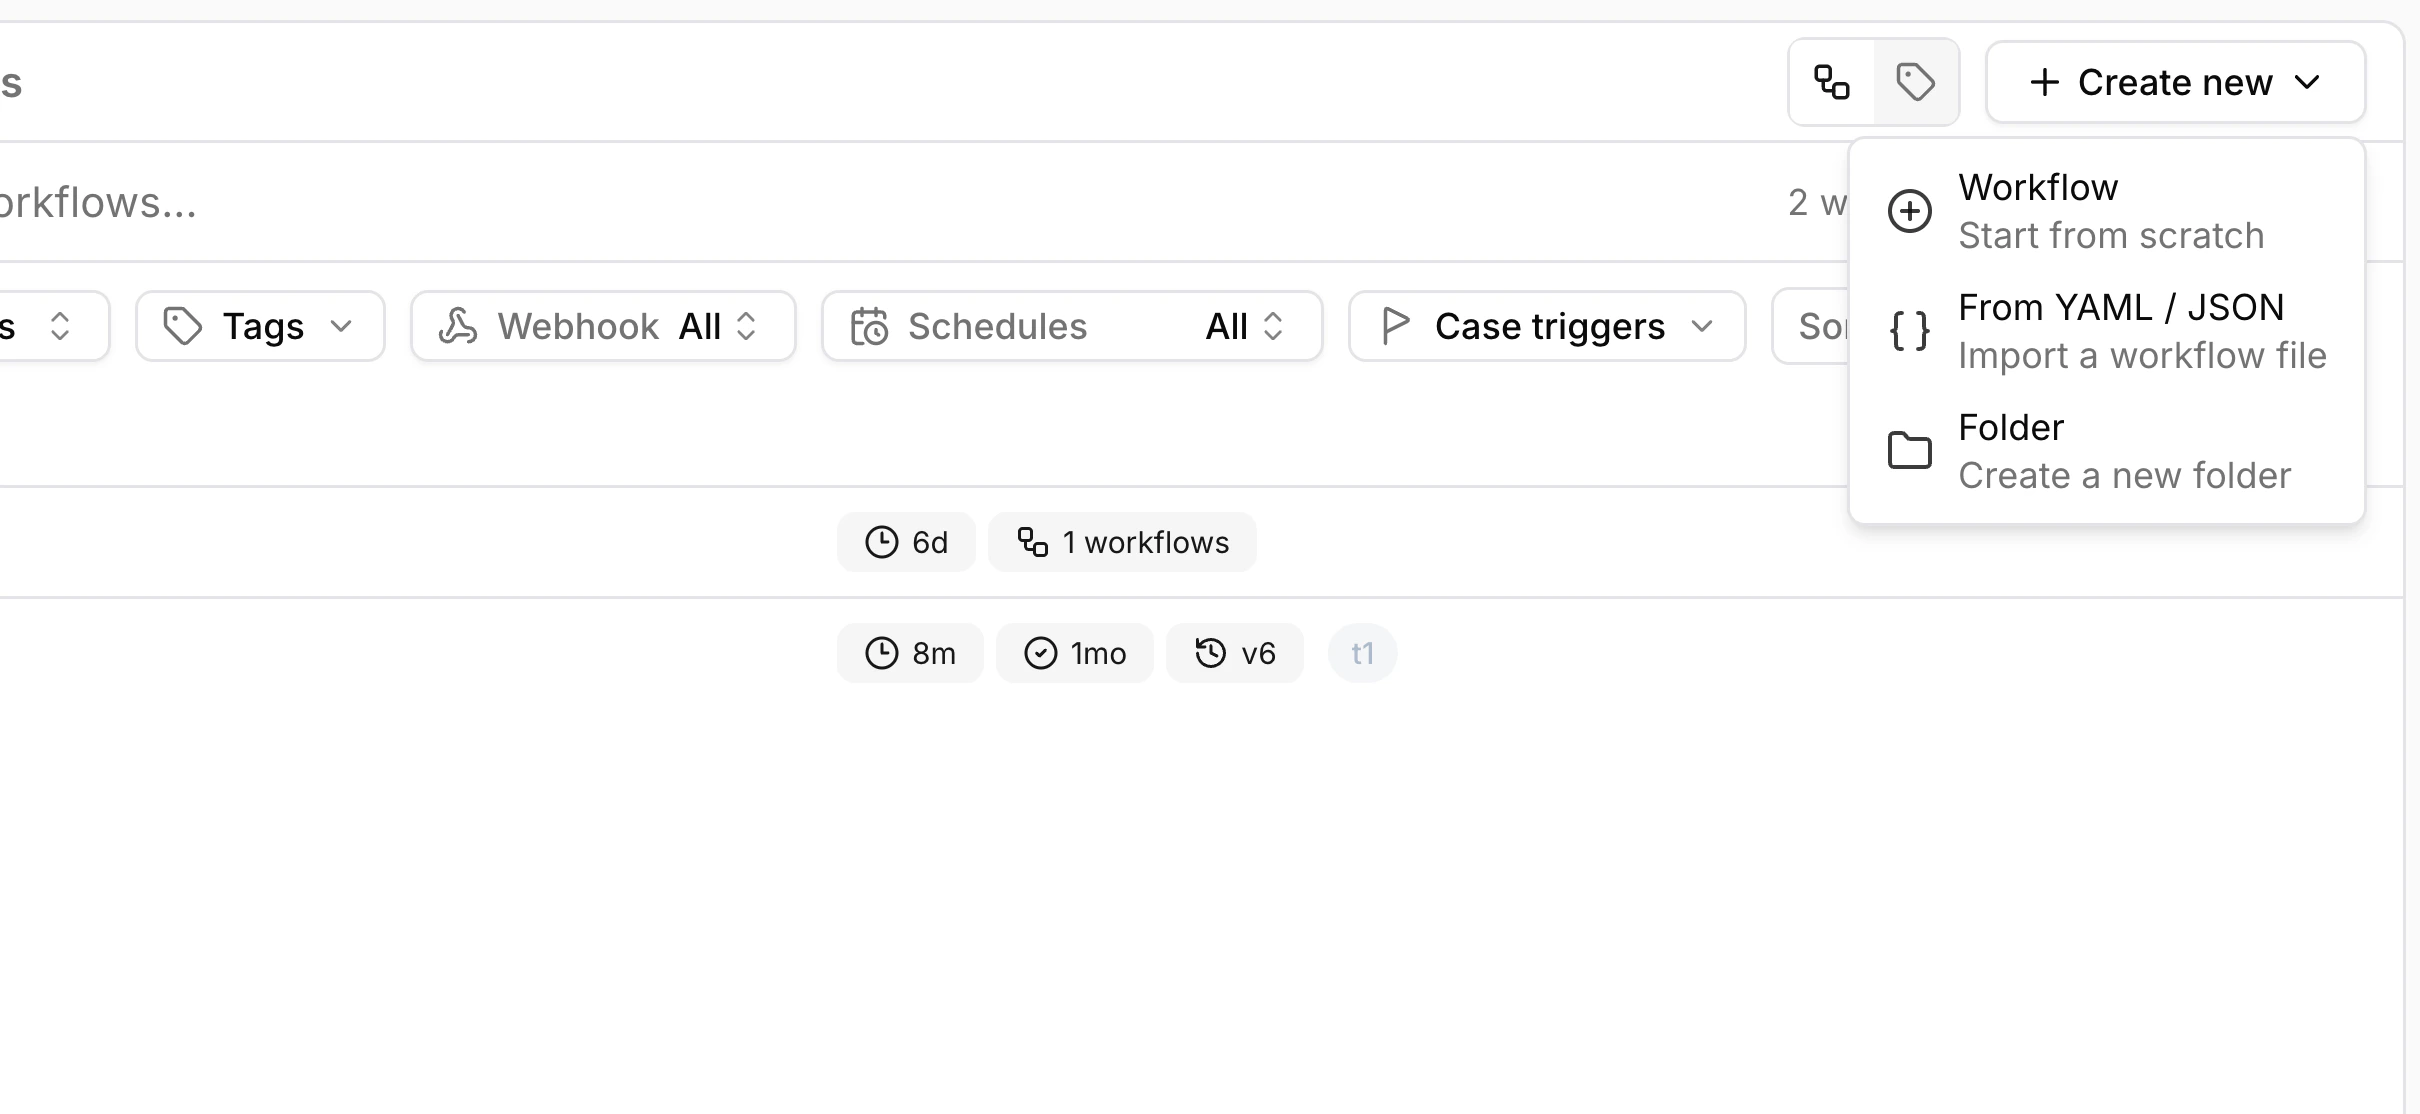
Creating workflows
View and create workflows in the Tracecat UI under the/workflows page.
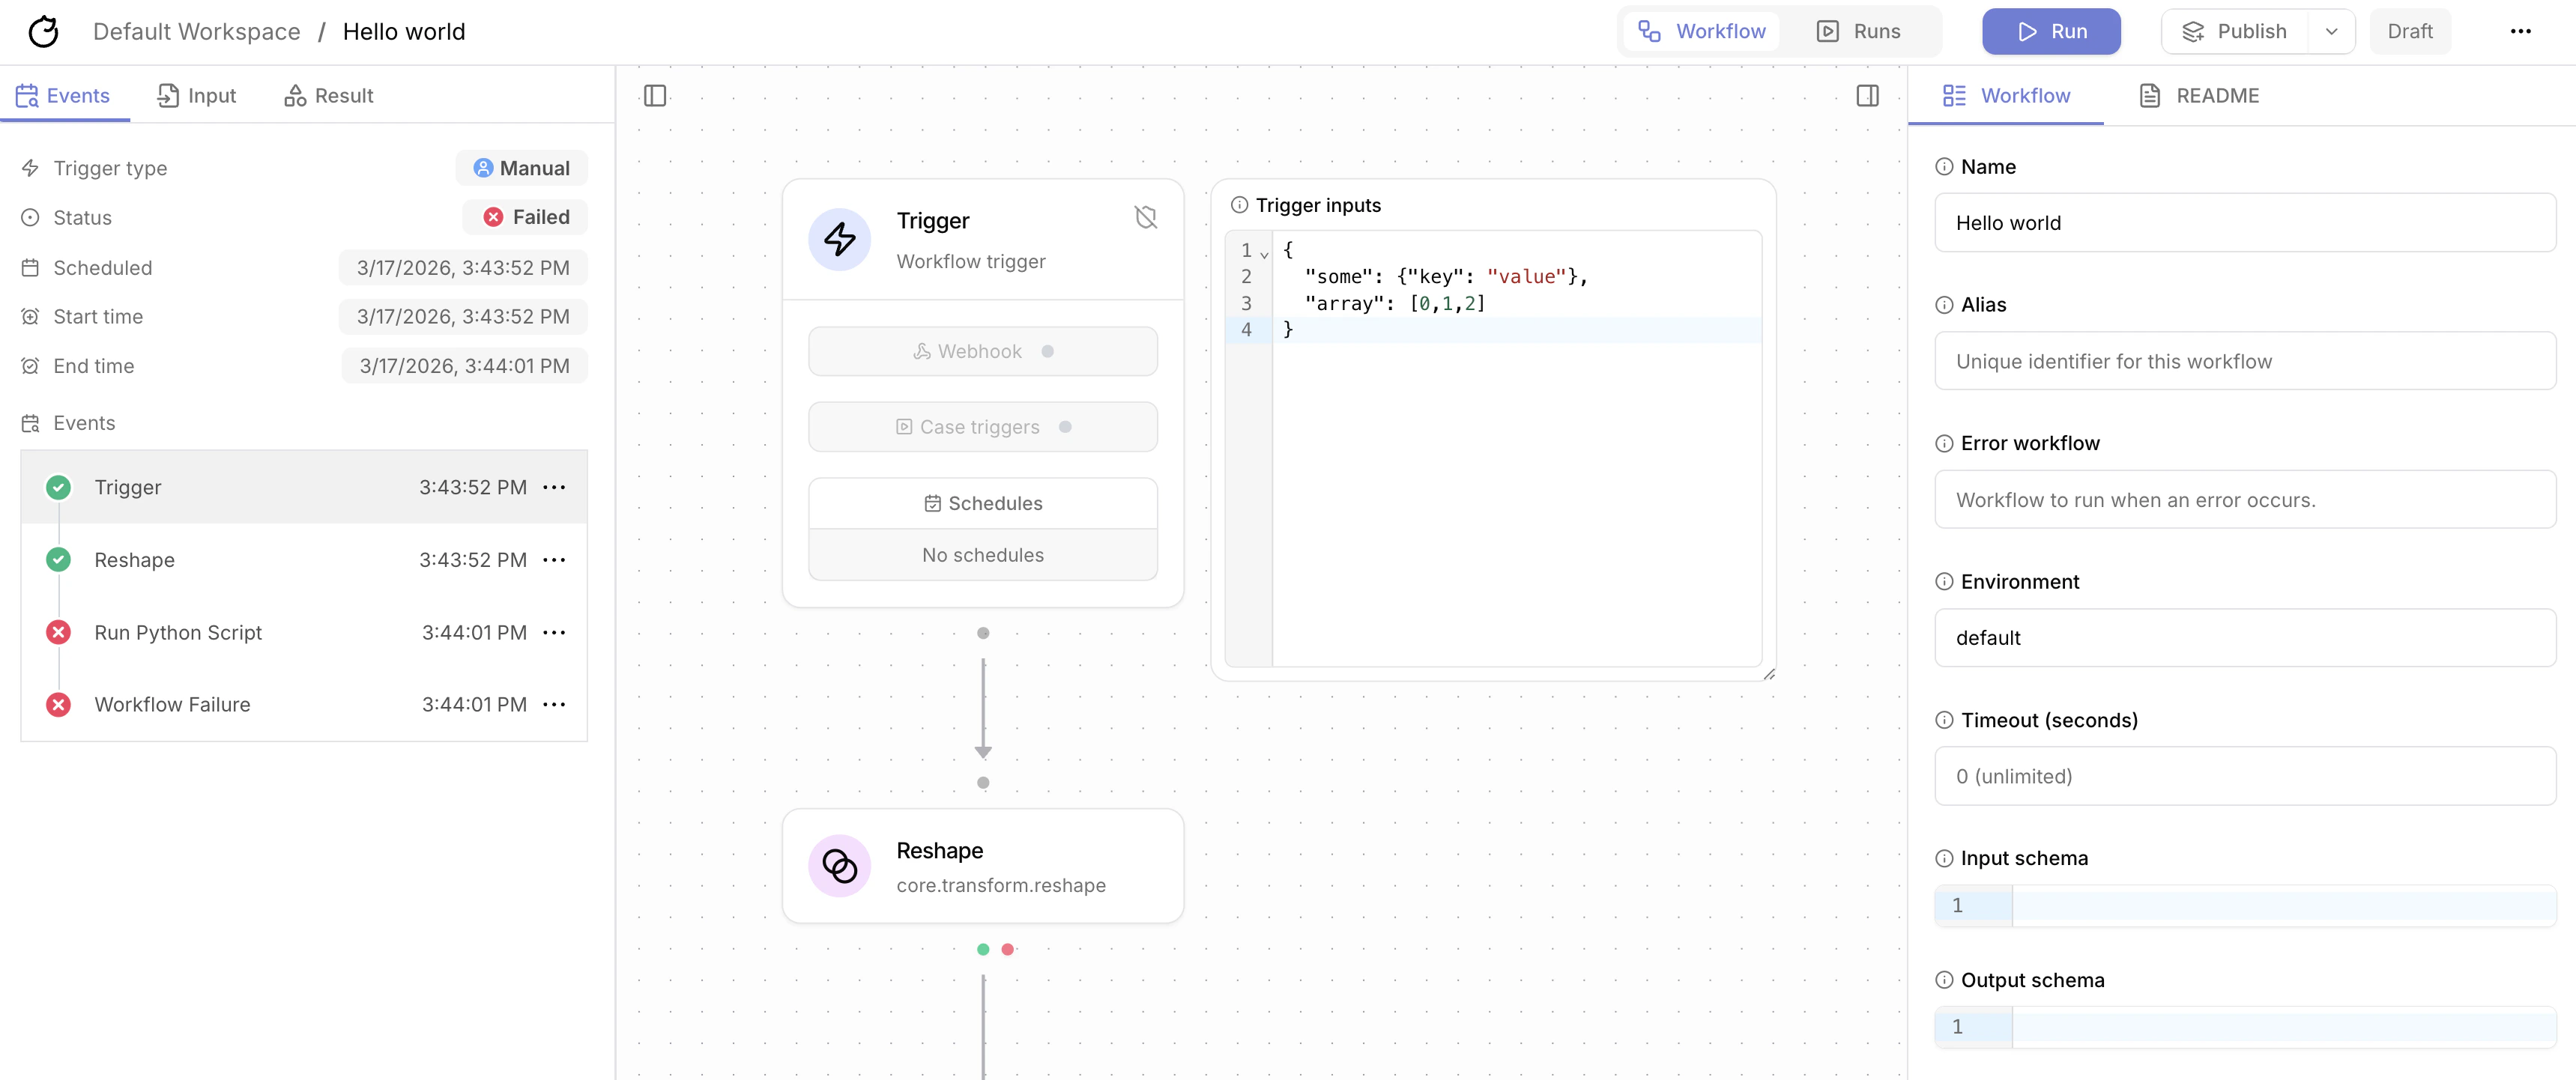
Run workflows manually
You can run a workflow manually by clicking theRun button in the top right corner of the workflow builder.
Triggers
Workflows can be triggered by:- Webhooks
- Schedules
- Subflow run action
- Case triggers Enterprise
- Task triggers Enterprise
- Comment triggers Enterprise
Trigger inputs
You can specify trigger inputs in the workflow builder. These inputs are passed to the workflow as${{ TRIGGER }} expressions.
View workflow runs
There are three views for workflow runs:- Events panel: most recent run in the left part of the workflow builder
- Runs view: all runs for a specific workflow
- Enterprise History view: all runs across all workflows
We only show runs that you triggered manually or by a trigger. This allows other users to work on the same workflow without seeing your runs.
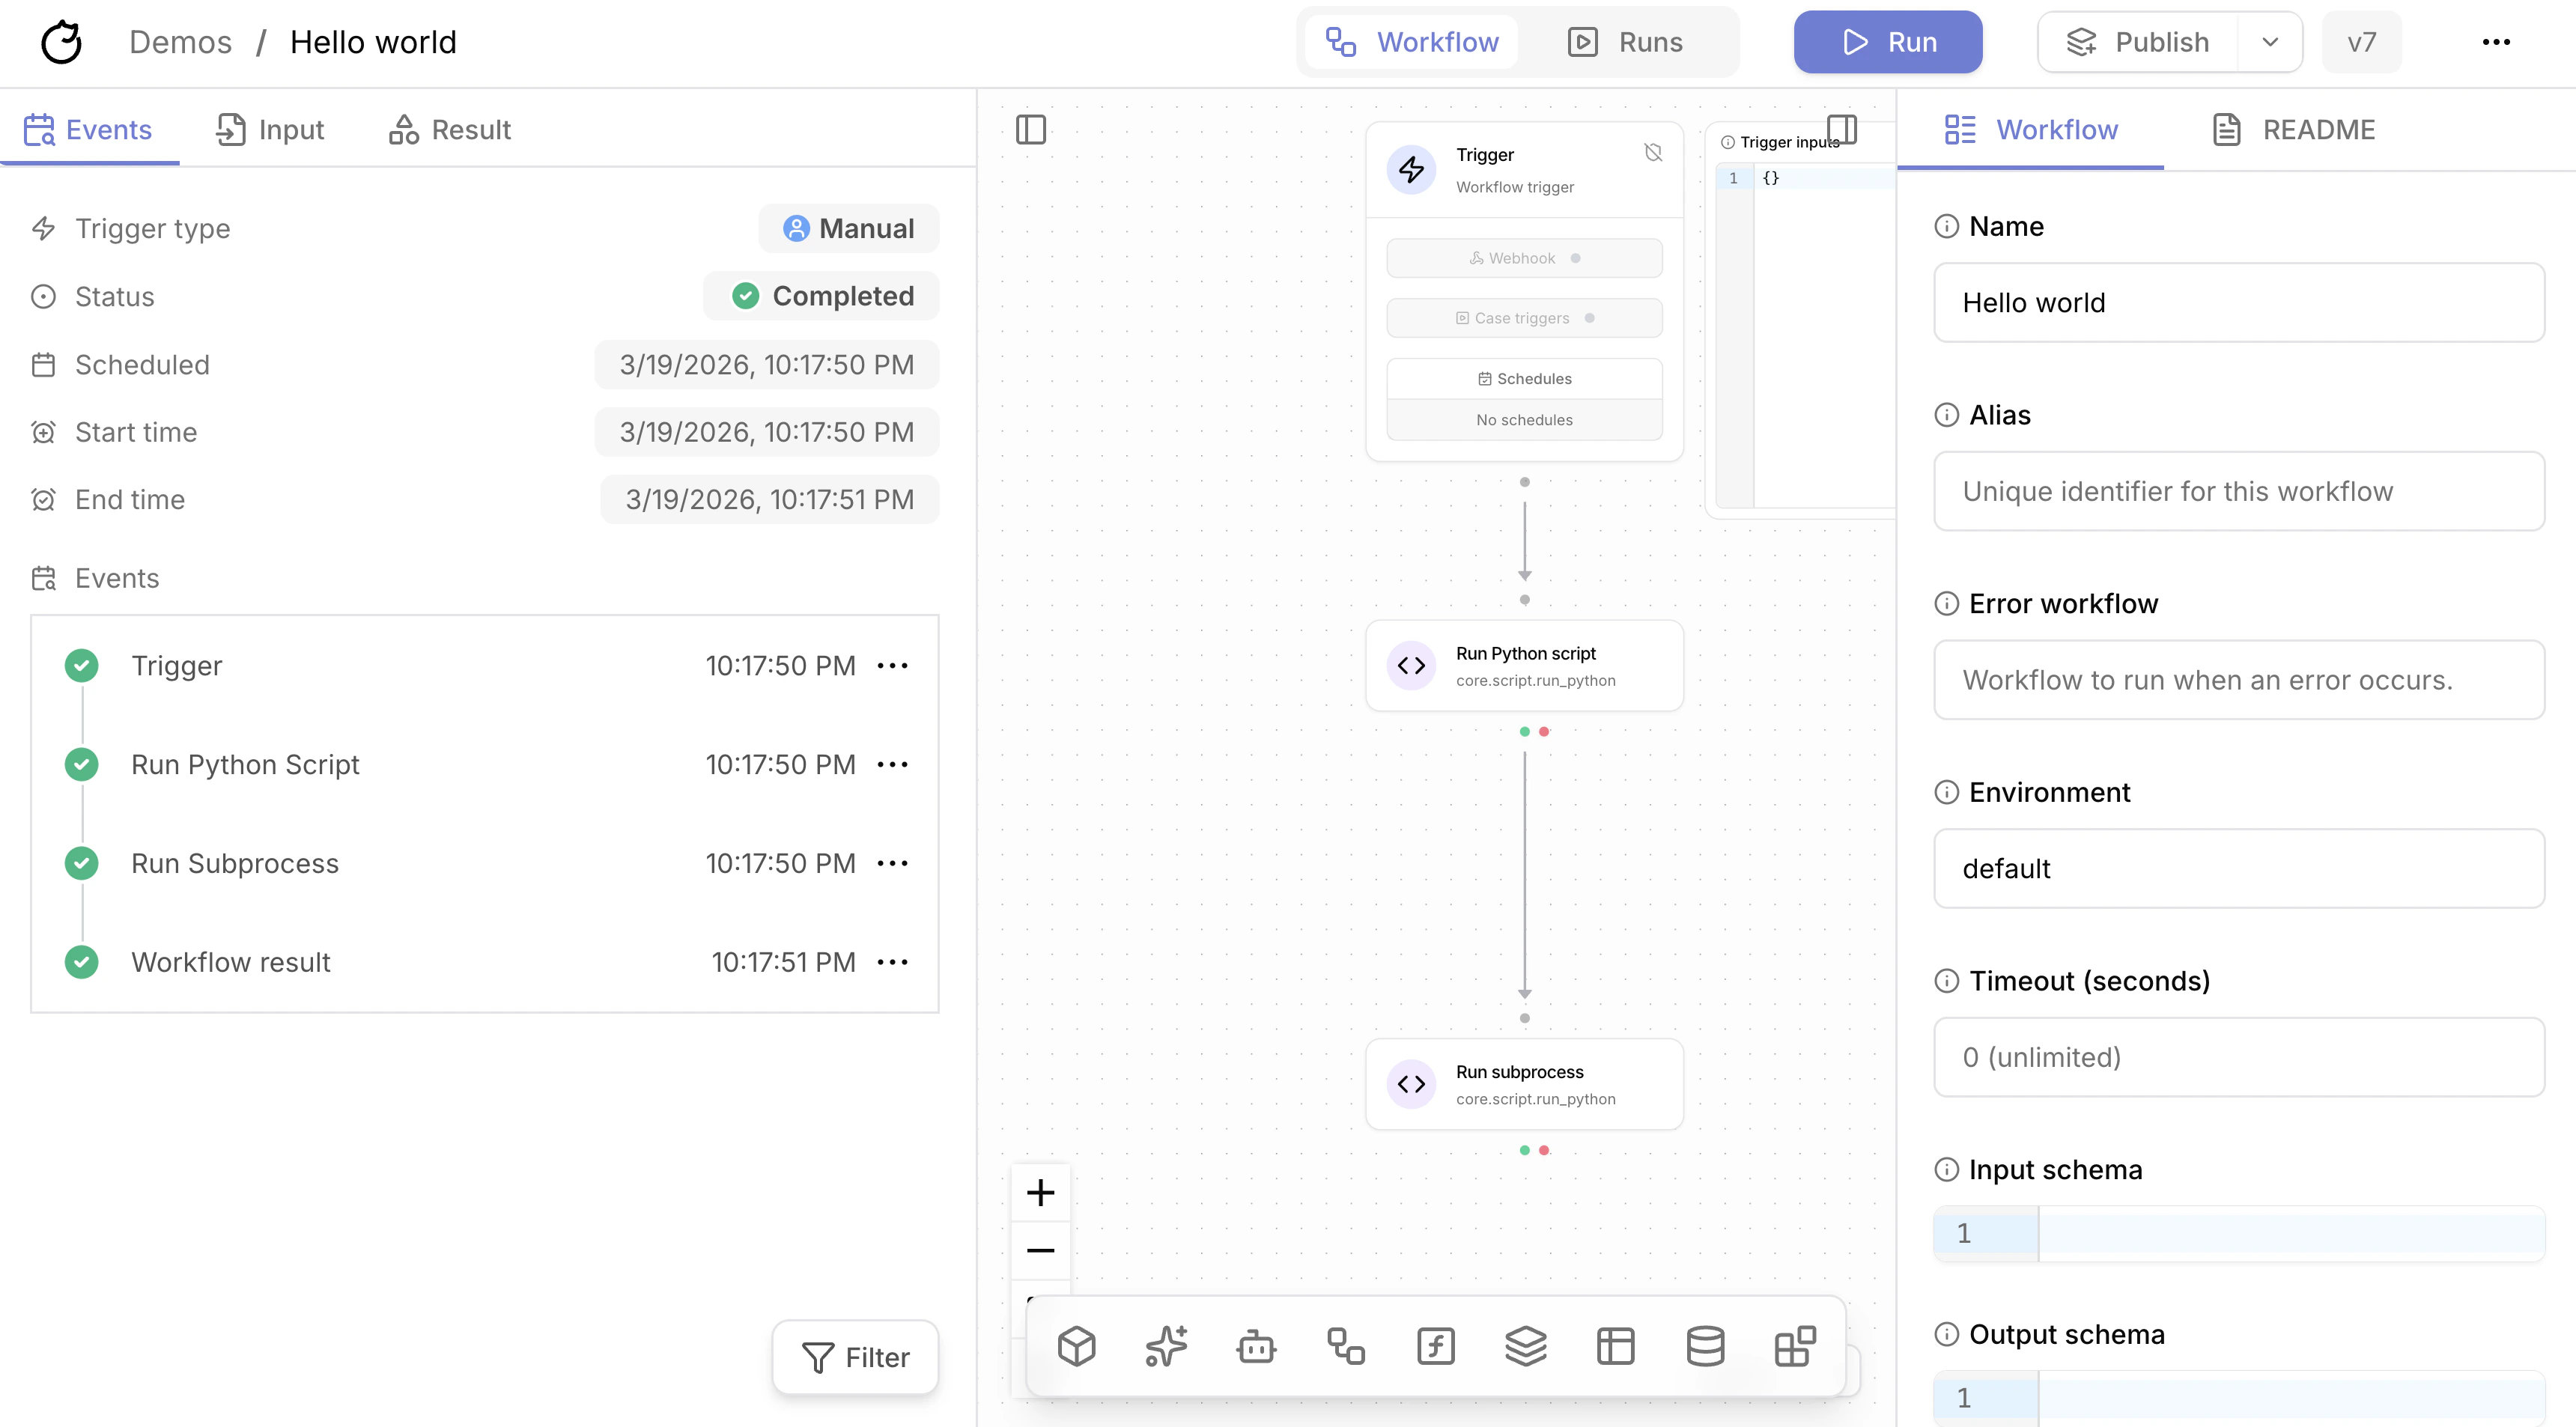
Events panel
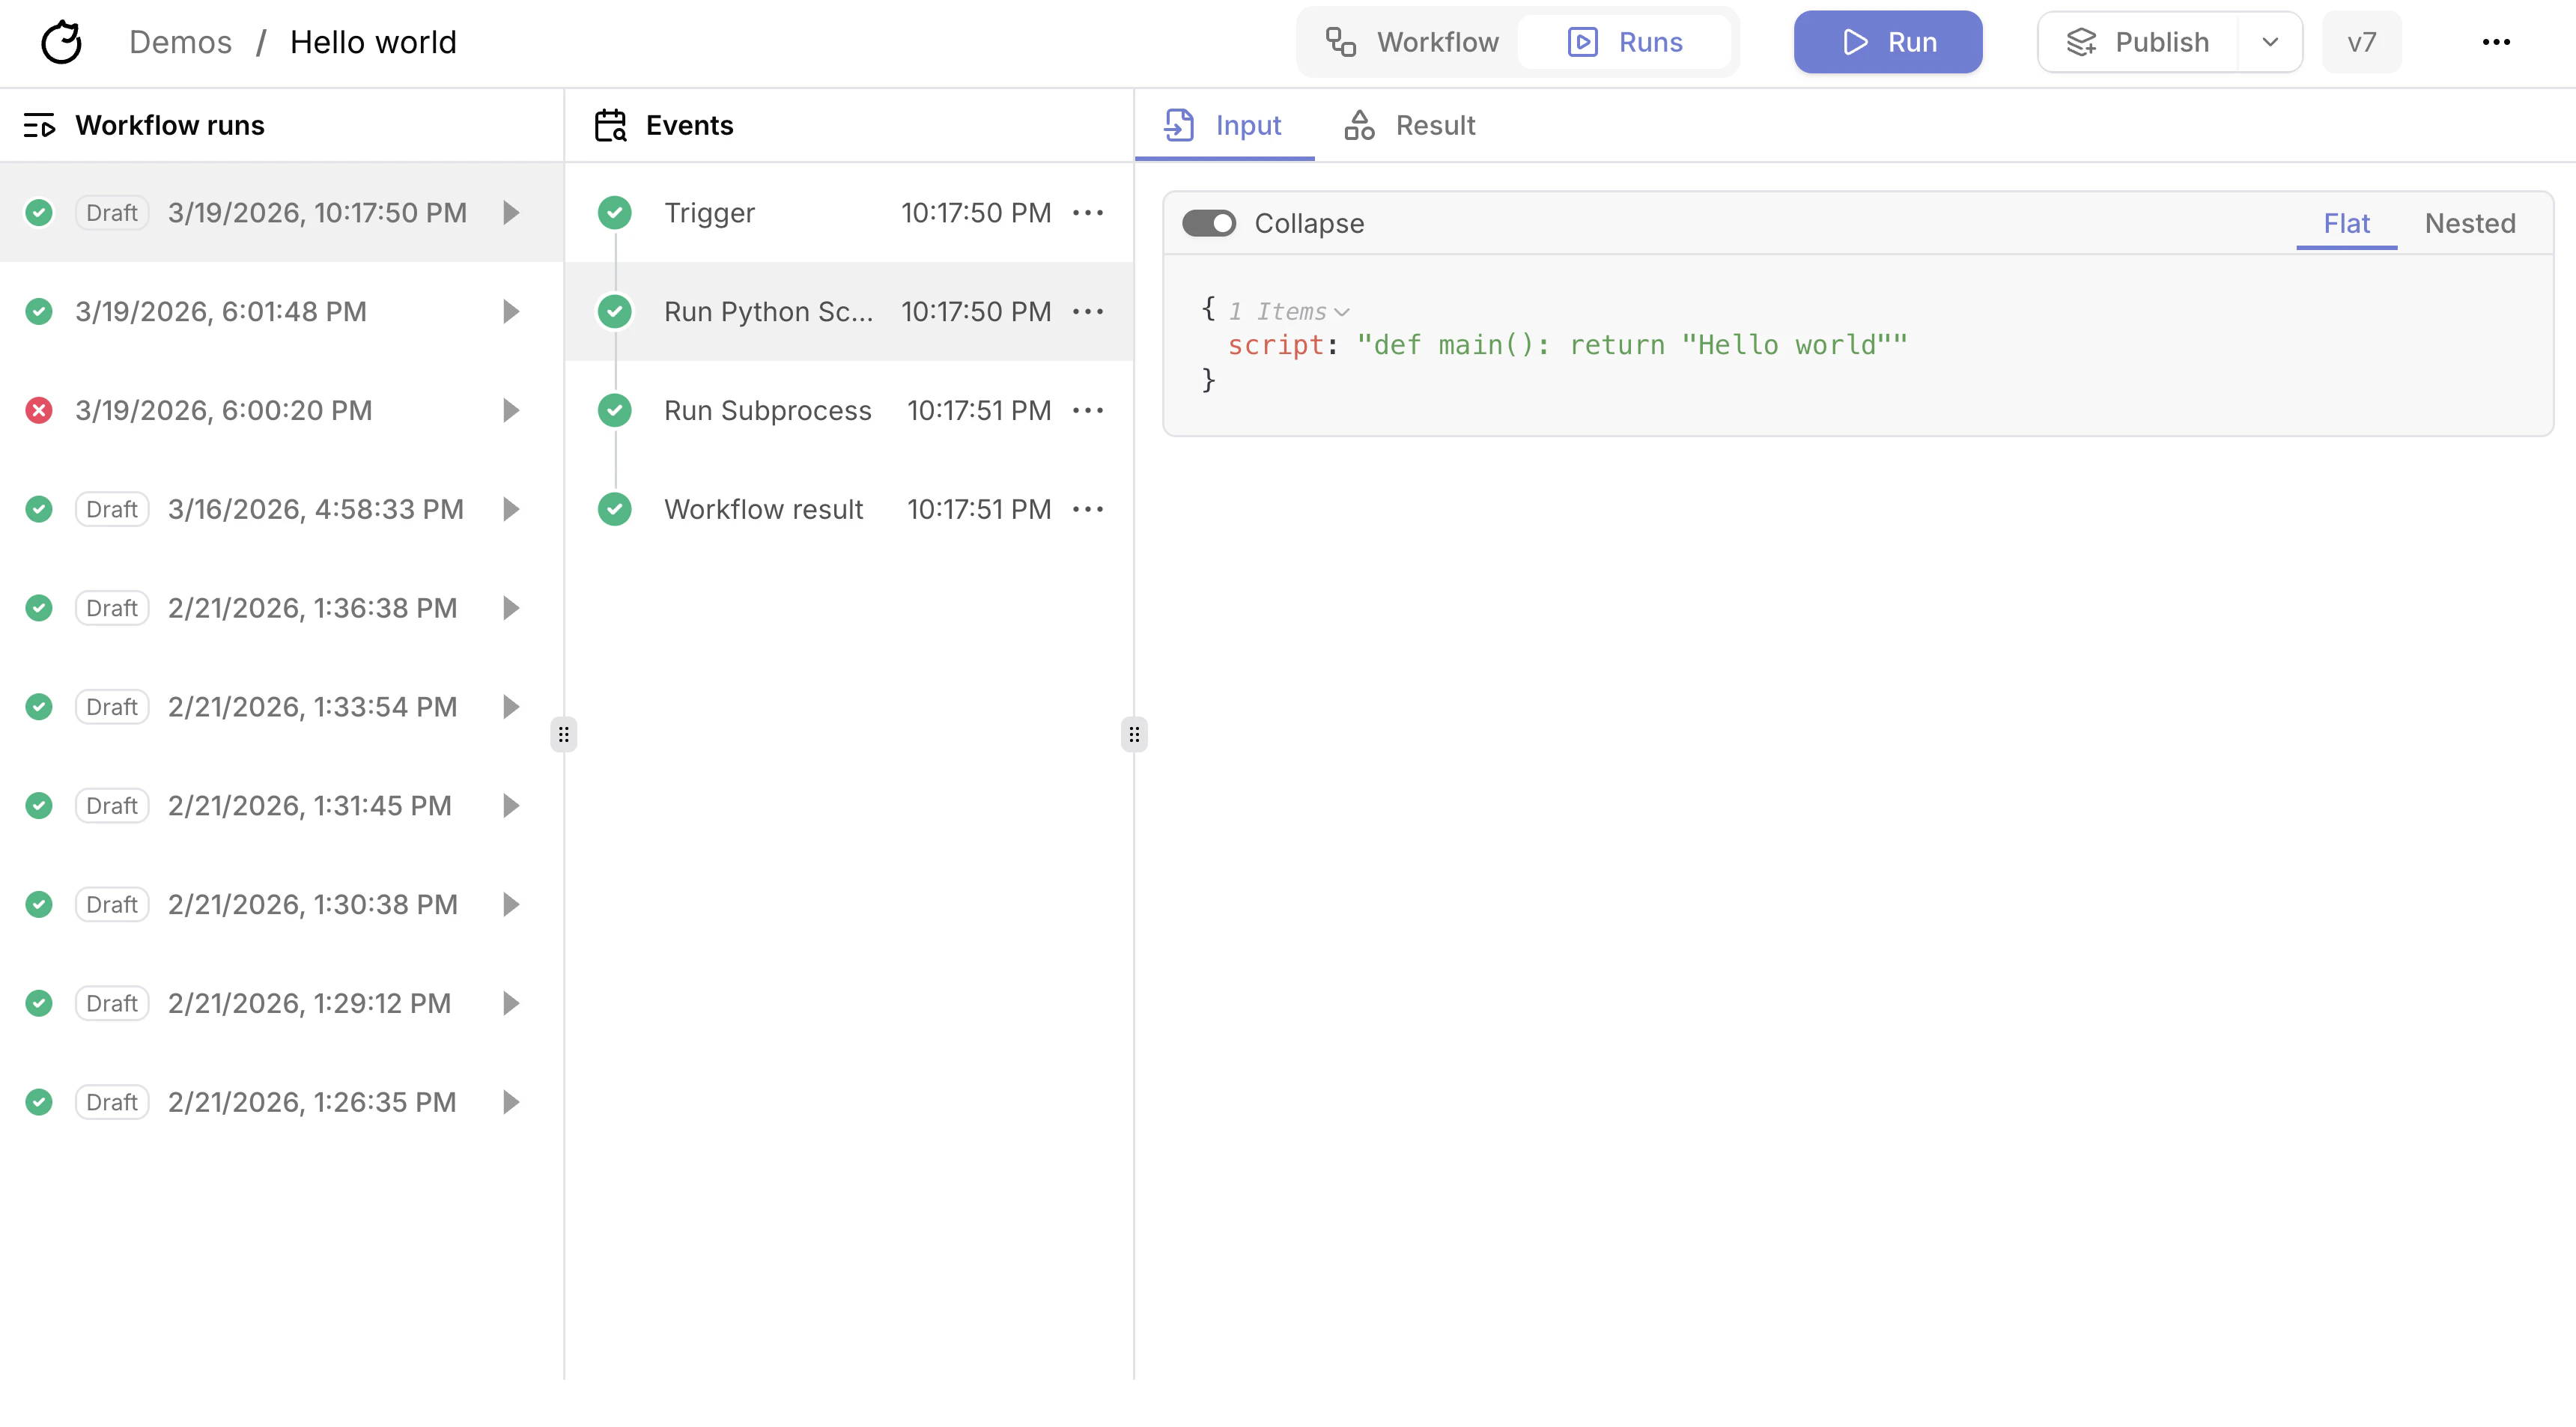
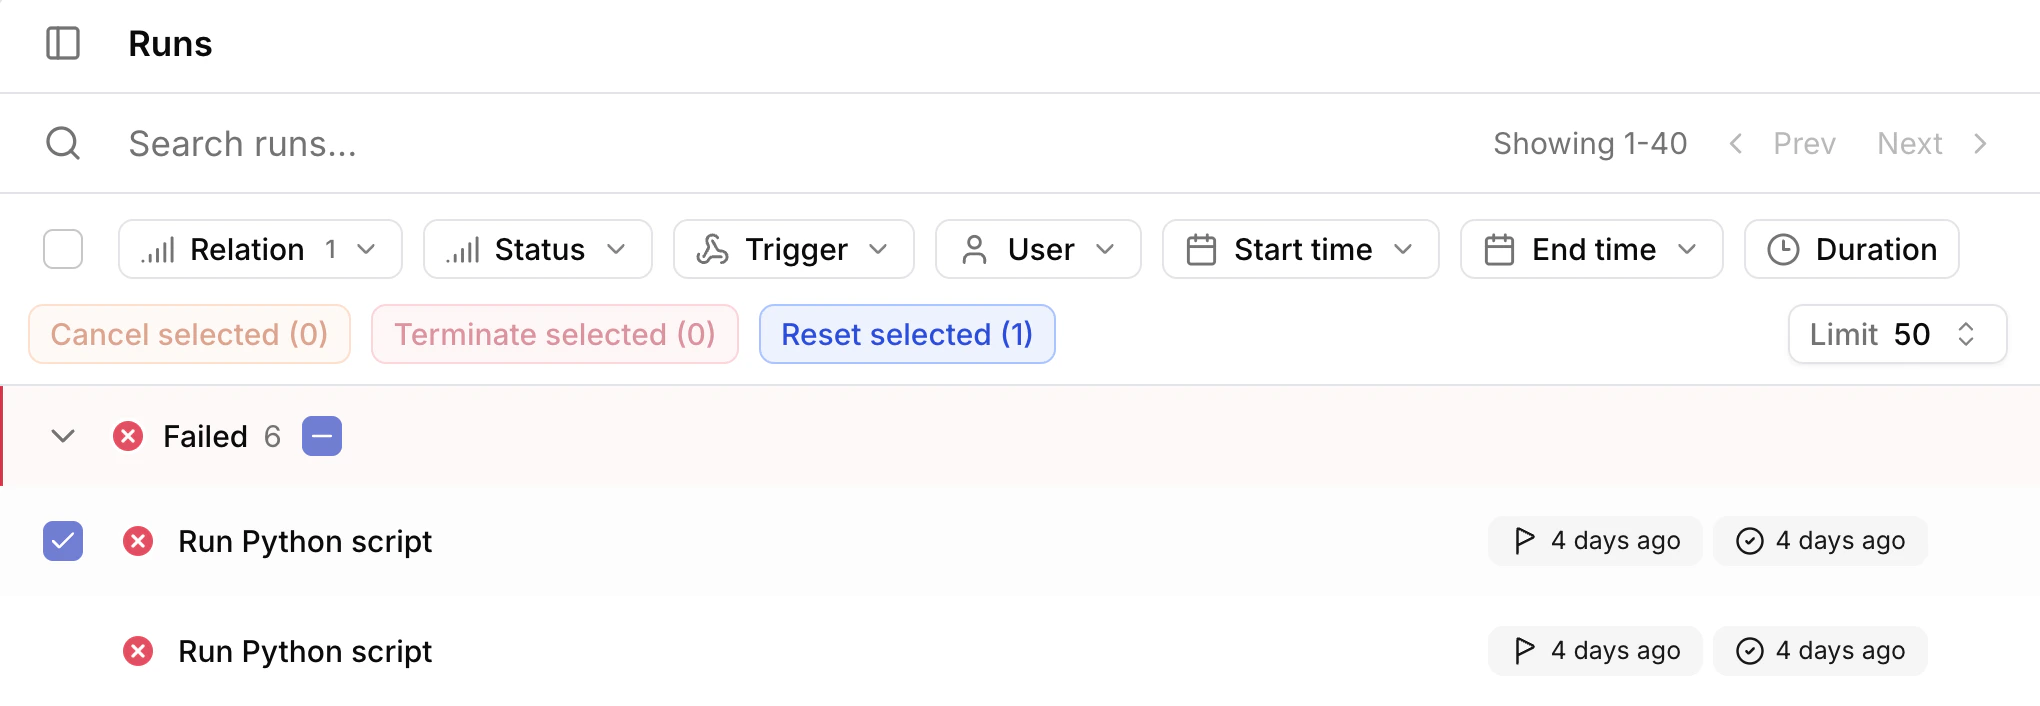
Runs view

History view
Tag workflow
Right click on a workflow in the workflows table then hover over the “Tags” menu item.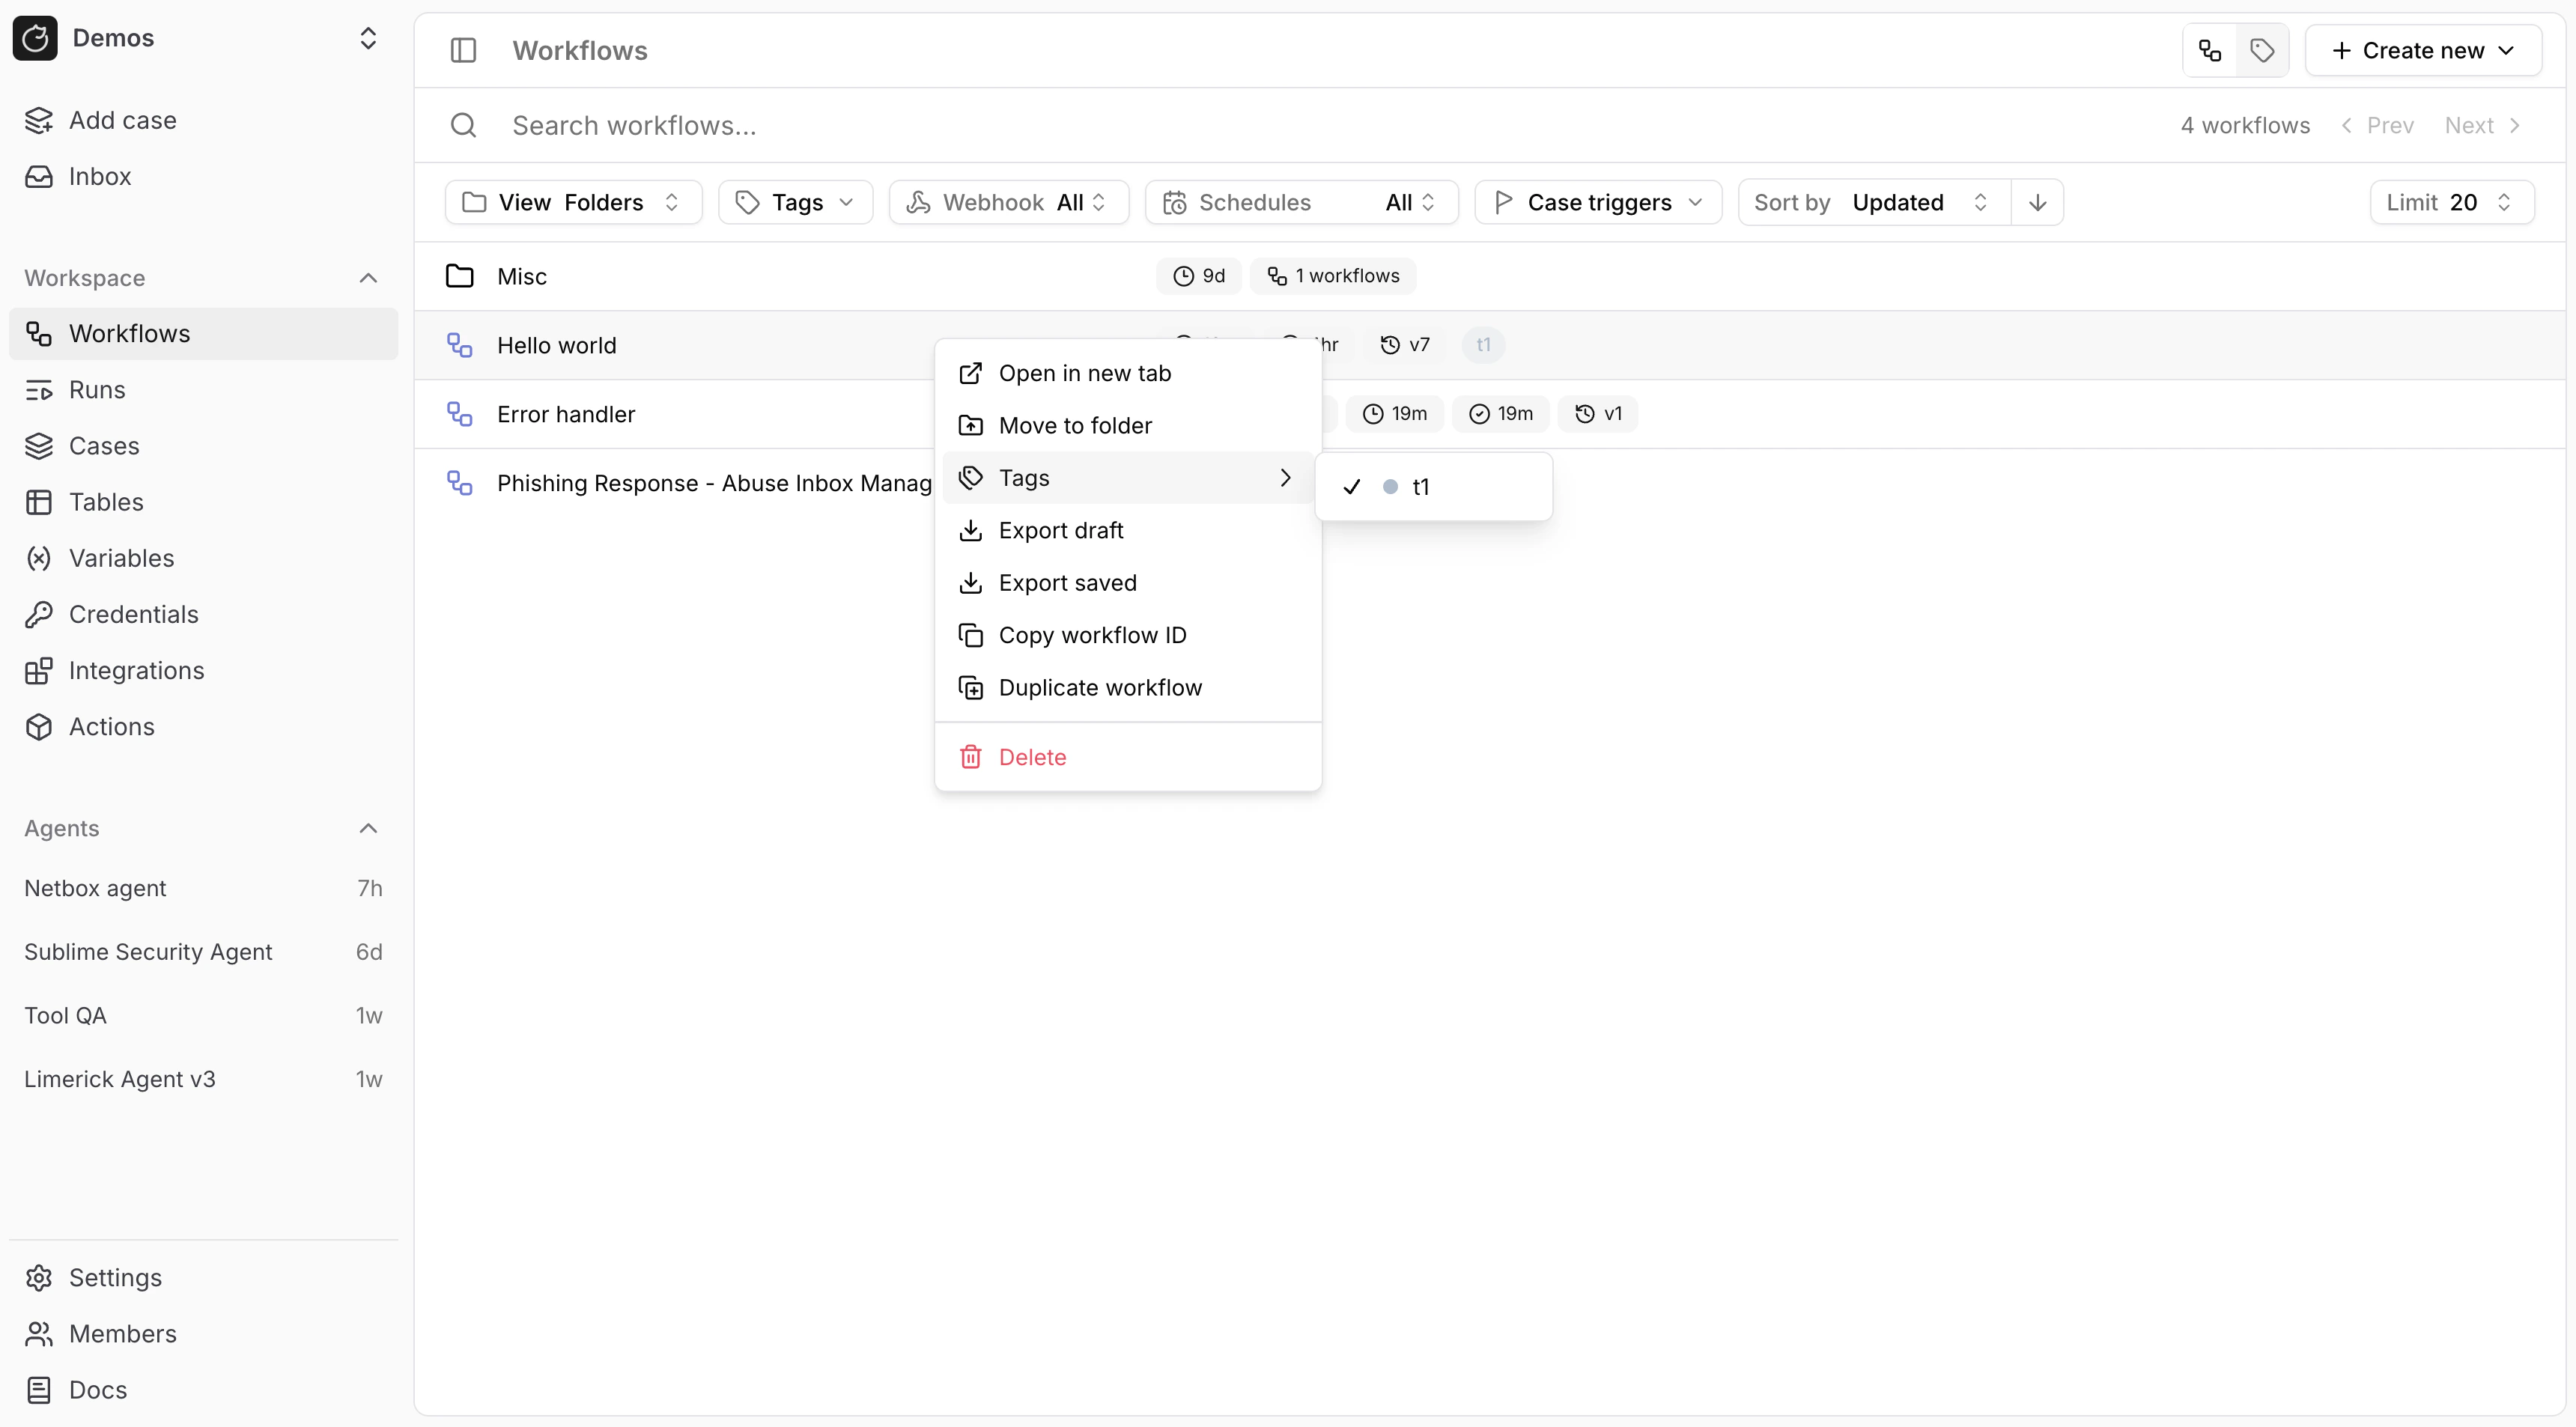
Draft workflows
Draft workflows are workflows that are currently being edited. You can run draft workflows manually by clicking theRun button in the top right corner of the workflow builder.
Published workflows
To deploy a workflow, you must publish it. Webhooks, schedules, subflows, and other workflow triggers always run the latest published workflow version.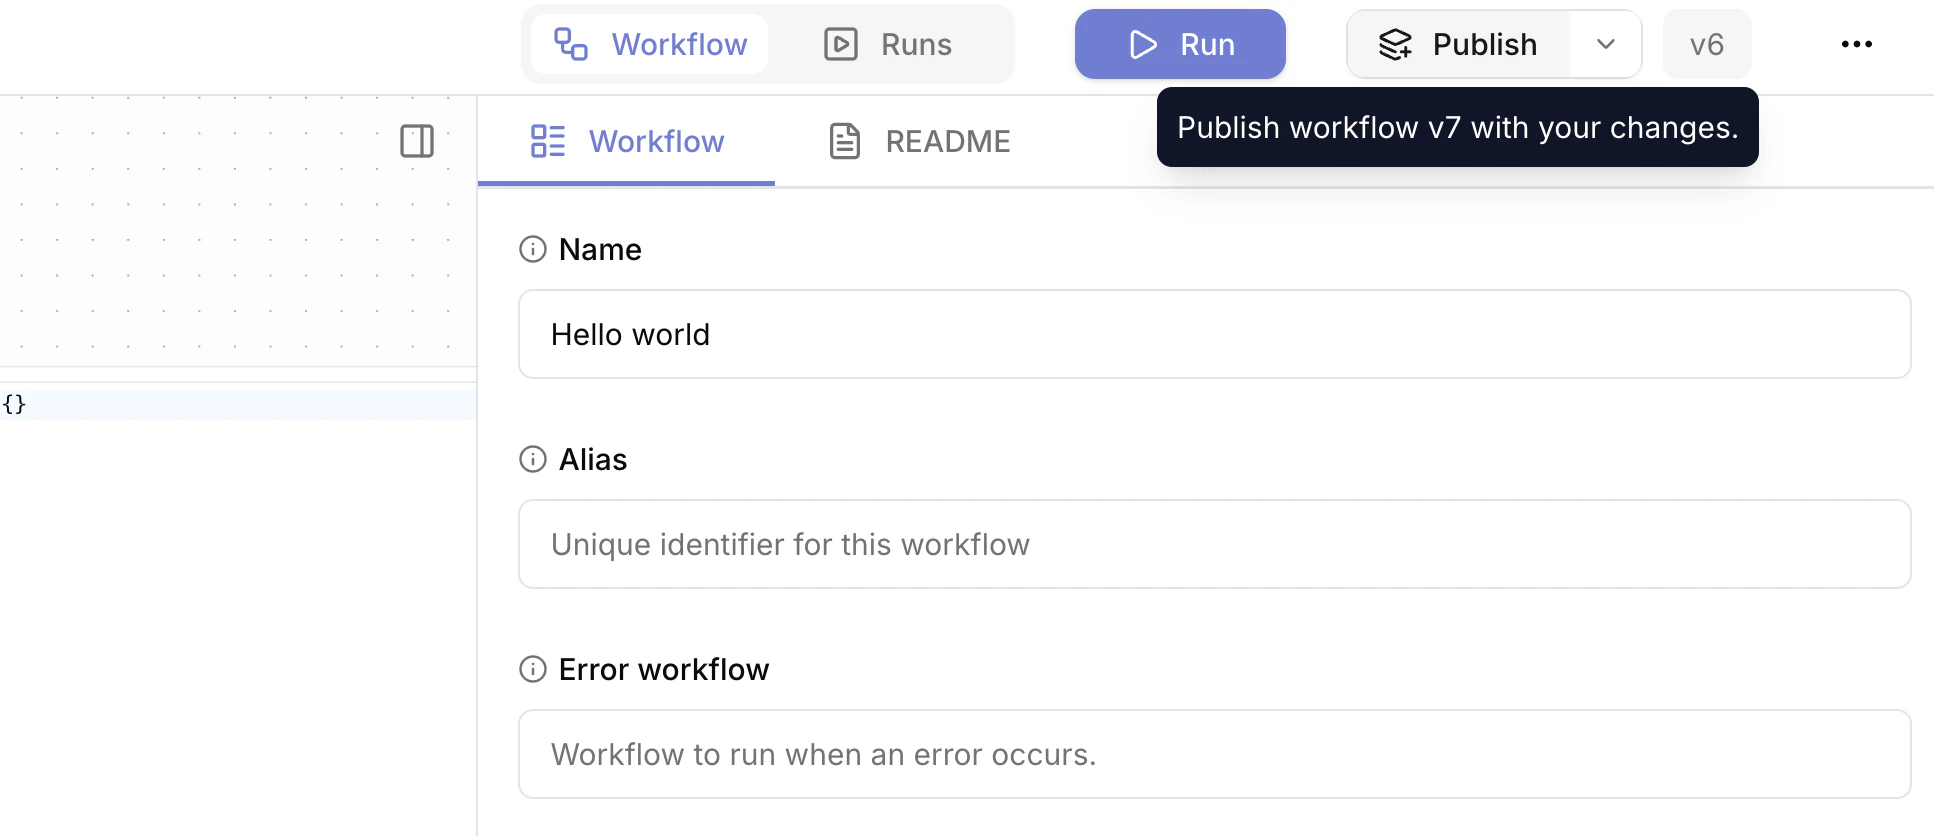
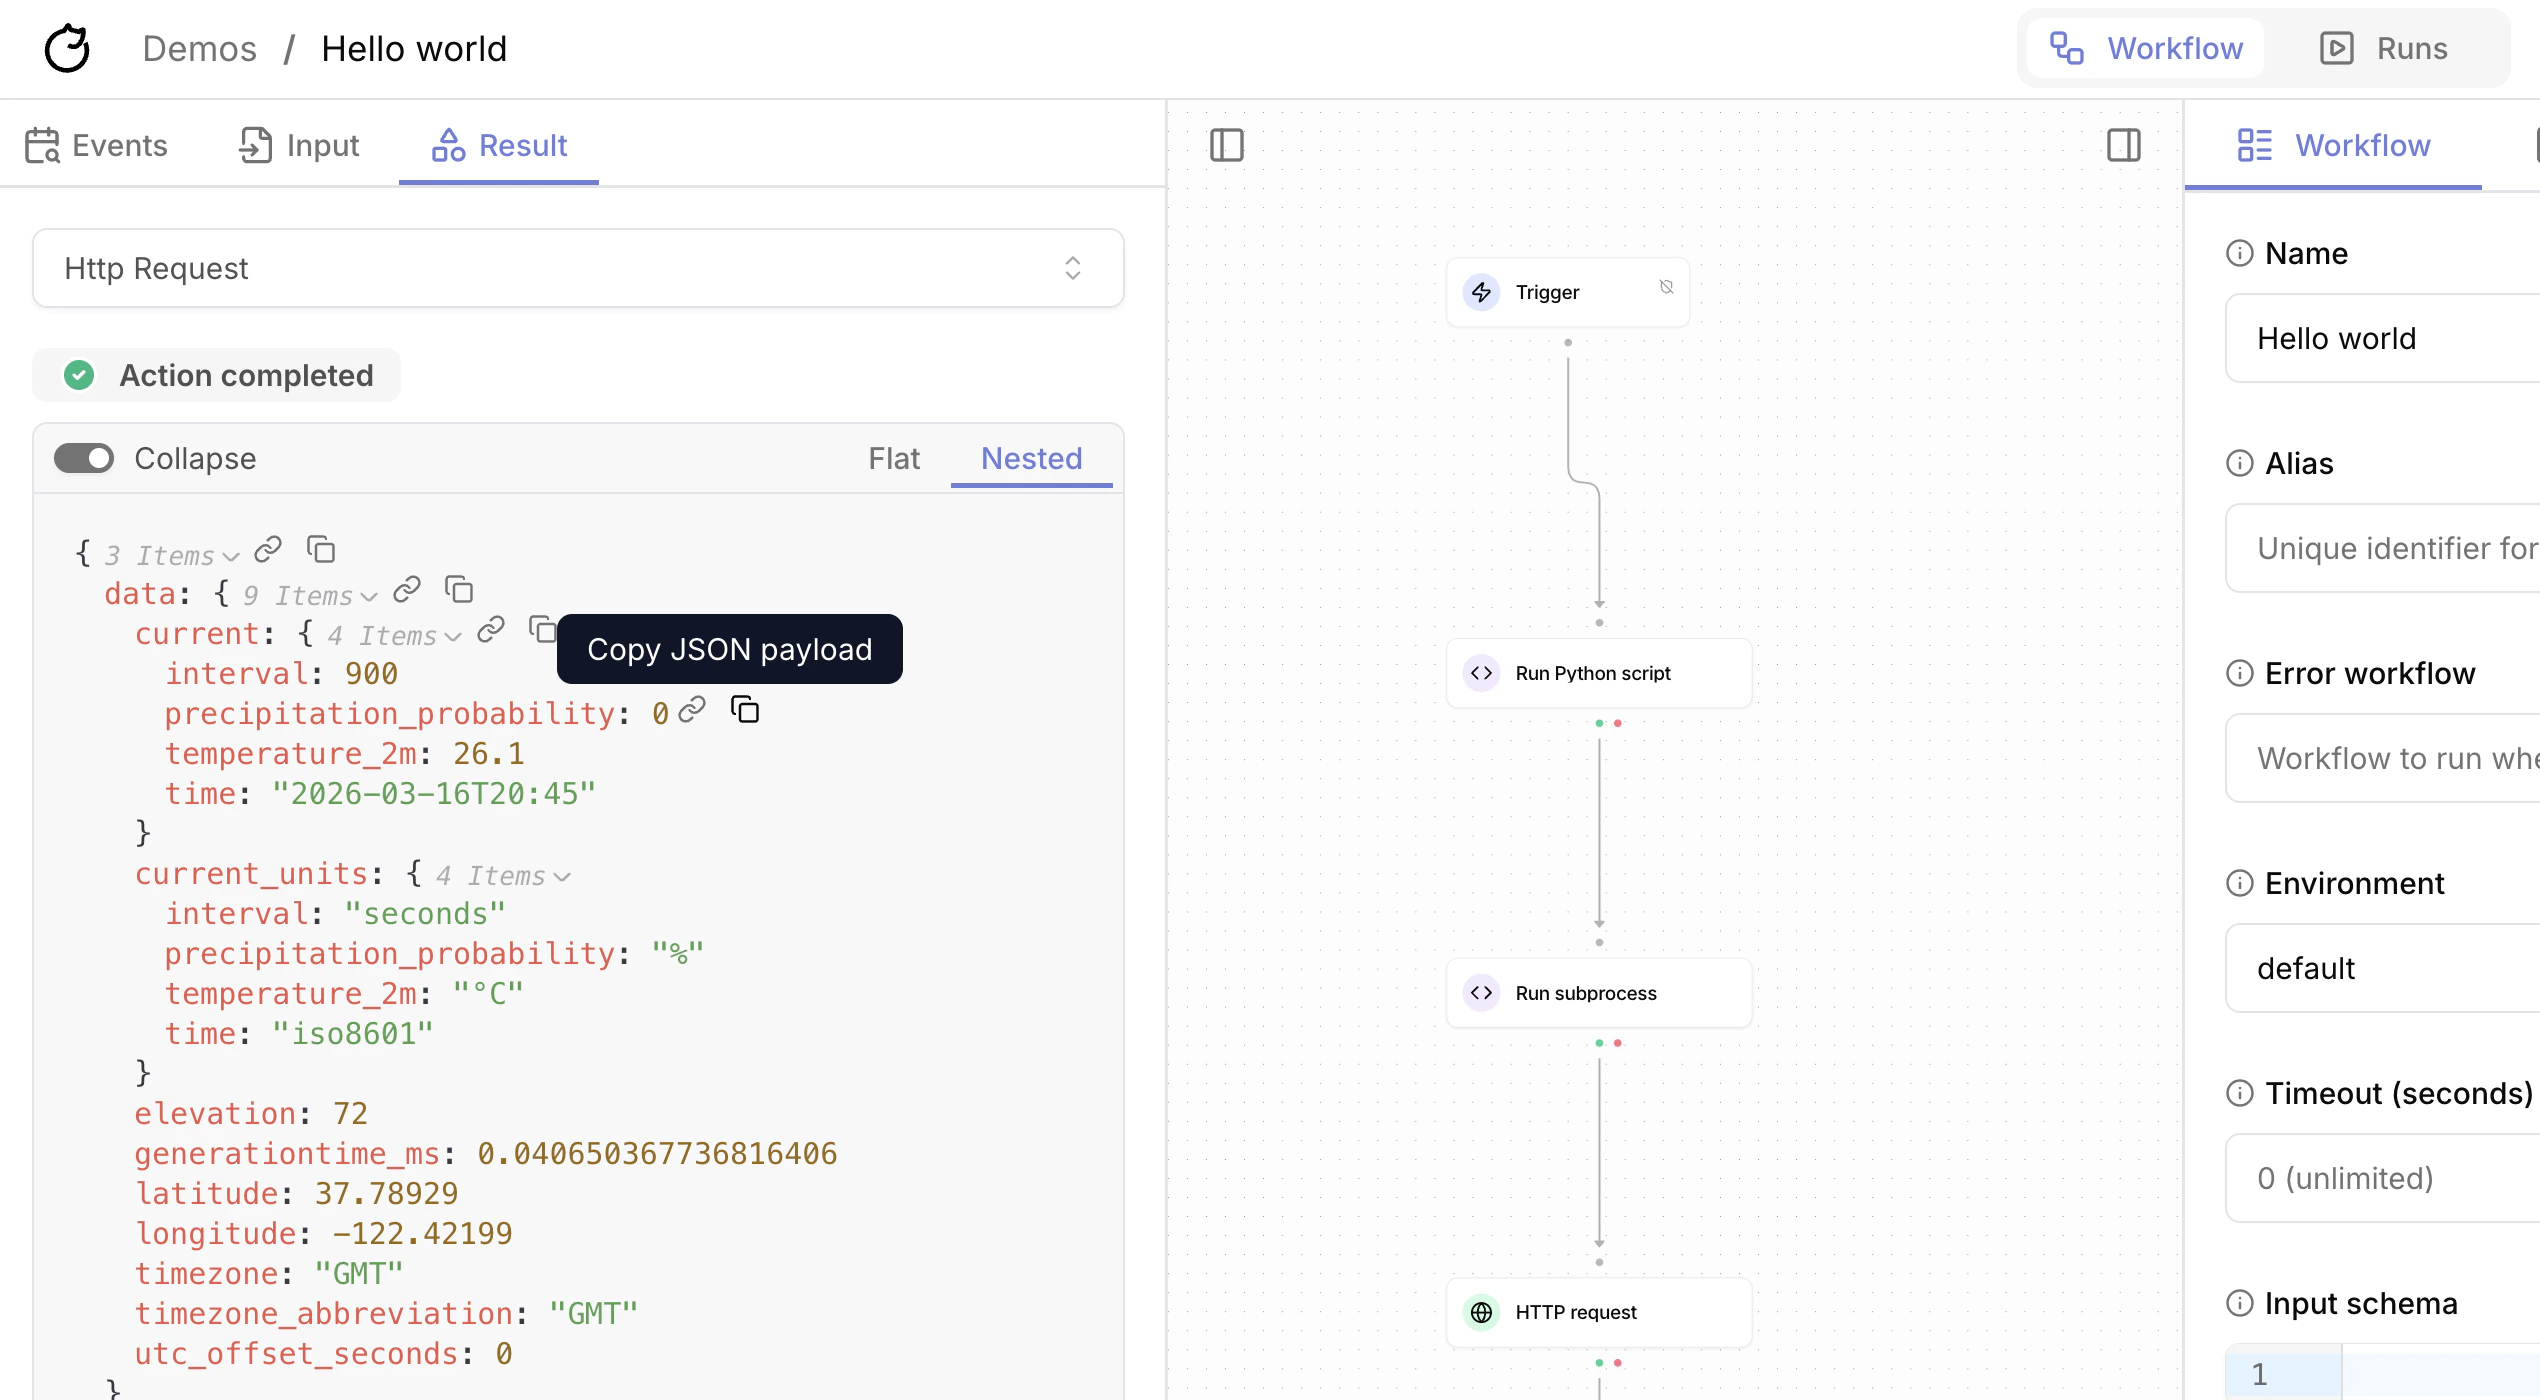
Workflow settings
Click on the workflow canvas to open the workflow settings panel.
Workflow alias
Workflow aliases are used to reference the workflow in subflows and error workflows. Keep aliases short, descriptive, and snake_case. You must define a workflow alias in order to trigger it as a subflow or error workflow.Error workflows
You can specify an error workflow to run when a workflow fails. Information about the failed workflow run is passed to the error workflow under the${{ TRIGGER }} expression.
See Error workflows for more information.
Input schema
You can specify an input schema to validate the trigger inputs to the workflow. Define the input schema as YAML or JSON-compatible YAML, where each top-level key is an input name. Each input supports these fields:typeis a Tracecat type expression such asstr,int,bool,float,datetime,duration,list[int],dict[str, Any],str | None, orenum["low", "high"]descriptionis an optional description of the inputdefaultis an optional default value; if you set it, the input becomes optional
Output schema
Workflows returnnull by default.
You can specify a return value for the workflow as an output schema.
Output schemas support all Tracecat expressions.
For example, assume a workflow has three actions whoami, location, and contact.
The actions return the following results:
whoami:{ "name": "John", "age": 30 }location:{ "city": "New York", "country": "USA" }contact:{ "email": "john@example.com", "phone": "1234567890" }
Environments
You can specify a default environment to use for the workflow. Actions without an environment override will use the default environment to pull secrets and variables from.Export / import workflows
Enterprise users should use Tracecat’s Git sync feature to push and pull their workflow definitions directly from a remote Git repository. Open Source users can export and import workflows directly from the Tracecat UI. Exported workflows are called workflow definitions and are saved as YAML files. Right click on a workflow in the/workflows page to export the draft or published workflow definition:
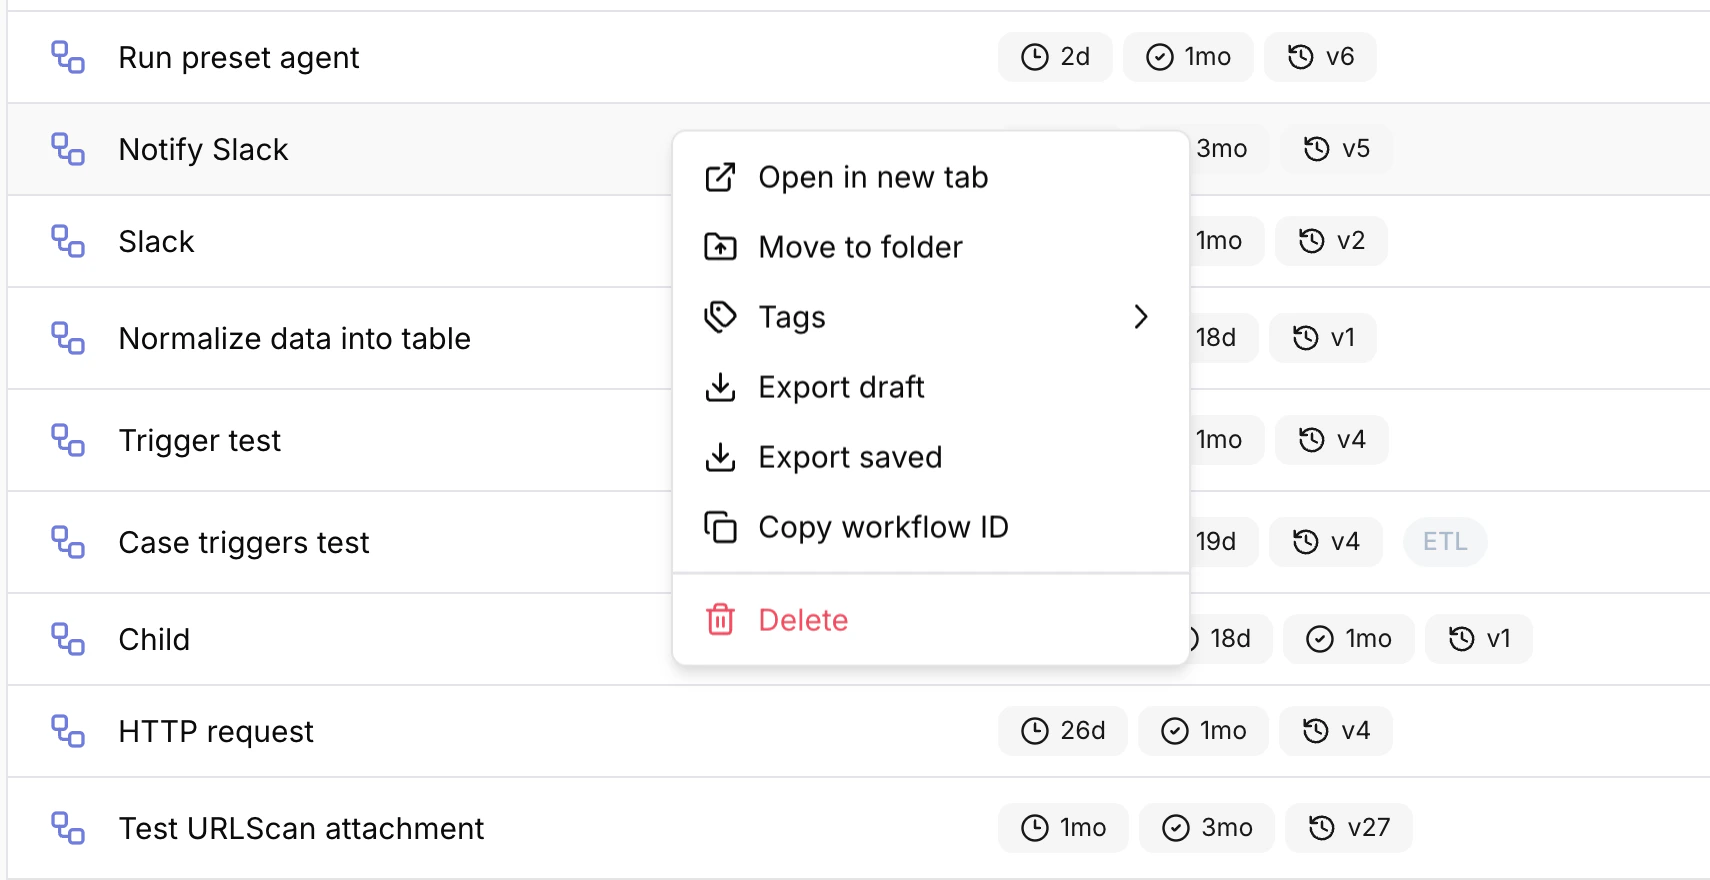
/workflows page:
Cancel / terminate / reset runs
The Temporal UI exposes all your workflow runs. Do not expose it to the public internet unless you have OIDC SSO enabled.
Docker Compose
Docker Compose
Expose port
8081 in the temporal_ui service in the docker-compose.yml file and run docker compose up.
Then access the Temporal UI at http://localhost:8081.AWS Fargate
AWS Fargate
Set the following Terraform variables:
disable_temporal_uitofalsetemporal_auth_provider_urlto your identity provider’s URLtemporal_auth_client_idto the OIDC client IDtemporal_auth_client_secretto the OIDC client secret
terraform apply. Access the Temporal UI at http://<your domain>/temporal-admin./runs page.
Copy actions to clipboard
Hover over any action in the events panel or runs view. You’ll see two icons: Link and Copy next to the action key-value. The link icon copies the JSONPath reference to the action result. For example,${{ ACTIONS.first_action.result }}.

mask_output, the workflow execution UI keeps object and array structure but shows [REDACTED] for each individual value. You can still copy JSONPath references from the displayed shape, and downstream actions still receive the original result.